Wicked Eyes and Wicked Hearts is a main quest in Dragon Age: Inquisition.
The fate of Empress Celene, and in turn, all of Orlais, has been threatened. The Inquisition must intervene.
Acquisition
The quest becomes available after speaking to Josephine during From the Ashes. It can be initiated by spending 30 Power at the war table, recommended for levels 12 to 15.
Walkthrough
"Hours after you were evicted from the Winter Palace, news spread across the land that Empress Celene was dead and Grand Duke Gaspard standing accused of treason. Orlais stood leaderless: in the chaos, Corypheus conquered it all too easily, overwhelming Inquisition forces lacking the allies needed to stop him."
The quest begins with a scene as the Inquisition arrives at the Winter Palace in Halamshiral. The Inquisitor is greeted by Grand Duke Gaspard de Chalons at the exterior entrance. Gaspard informs the Inquisitor that he believes Briala intends to disrupt the negotiations.
After the scene, court approval starts at anywhere from 25-45 out of 100 court approval (mages and non-humans start with less). If court approval reaches 0, it will be Game Over as the Inquisitor is thrown out of the ball.
To obtain the Belle of the Ball trophy/achievement for this quest, Court Approval must reach 100/100 at some point during the quest and you must also choose to expose the Duchess at the end of the quest line; fighting her will not grant the achievement.
Enter the Winter Palace
Approach the Noblewoman in the corner to begin Montbelliard's Ring. Speak to her, but choosing the middle option results in ![]() Court Approval 5. Locate her ring on the nearby lion carving and return it to her for
Court Approval 5. Locate her ring on the nearby lion carving and return it to her for ![]() Court Approval 5 (128 XP, 80 Influence awarded upon completion), or tell her you couldn't find the ring and keep it to sell later (note that you will get no court approval if you choose this option). Examine the plaque behind the fountain to unlock Codex entry: Winter Palace. Go up the stairs towards the main gate. There are sets of stairs to the left and right.
Court Approval 5 (128 XP, 80 Influence awarded upon completion), or tell her you couldn't find the ring and keep it to sell later (note that you will get no court approval if you choose this option). Examine the plaque behind the fountain to unlock Codex entry: Winter Palace. Go up the stairs towards the main gate. There are sets of stairs to the left and right.
Head up the left stairs to begin Even Gilded Walls Have Ears. This short quest introduces the eavesdrop mechanic. Once completed, move past the nobles to the end of the covered walkway and search for the Storage Key. Head back downstairs and turn right to find the storage room. Enter the room and search the three small pots directly ahead to find the first Caprice Coin (1/15). Picking it up begins the side quest, Throwing Away Money, and unlocks Codex entry: Orlesian Caprice Coins. Search the desk to find a secret document (1/30). Picking it up begins the side quest, The Great Blackmail Hunt. (If you miss this document now, there is no way to retrieve it after entering the Castle.)
Head up the stairs to the right of the main gate. Search near the bench to find a halla statuette (1/10). Picking it up begins the side quest, Herd of Stone Halla. This can be used to Unlock the Eastern Storage below. Opening it is optional and awards 128 XP and 80 Influence. Two loot containers are found inside.
Enter the main gate and a scene plays in which Josephine warns the Inquisitor of the dangers they face by attempting to play The Game.
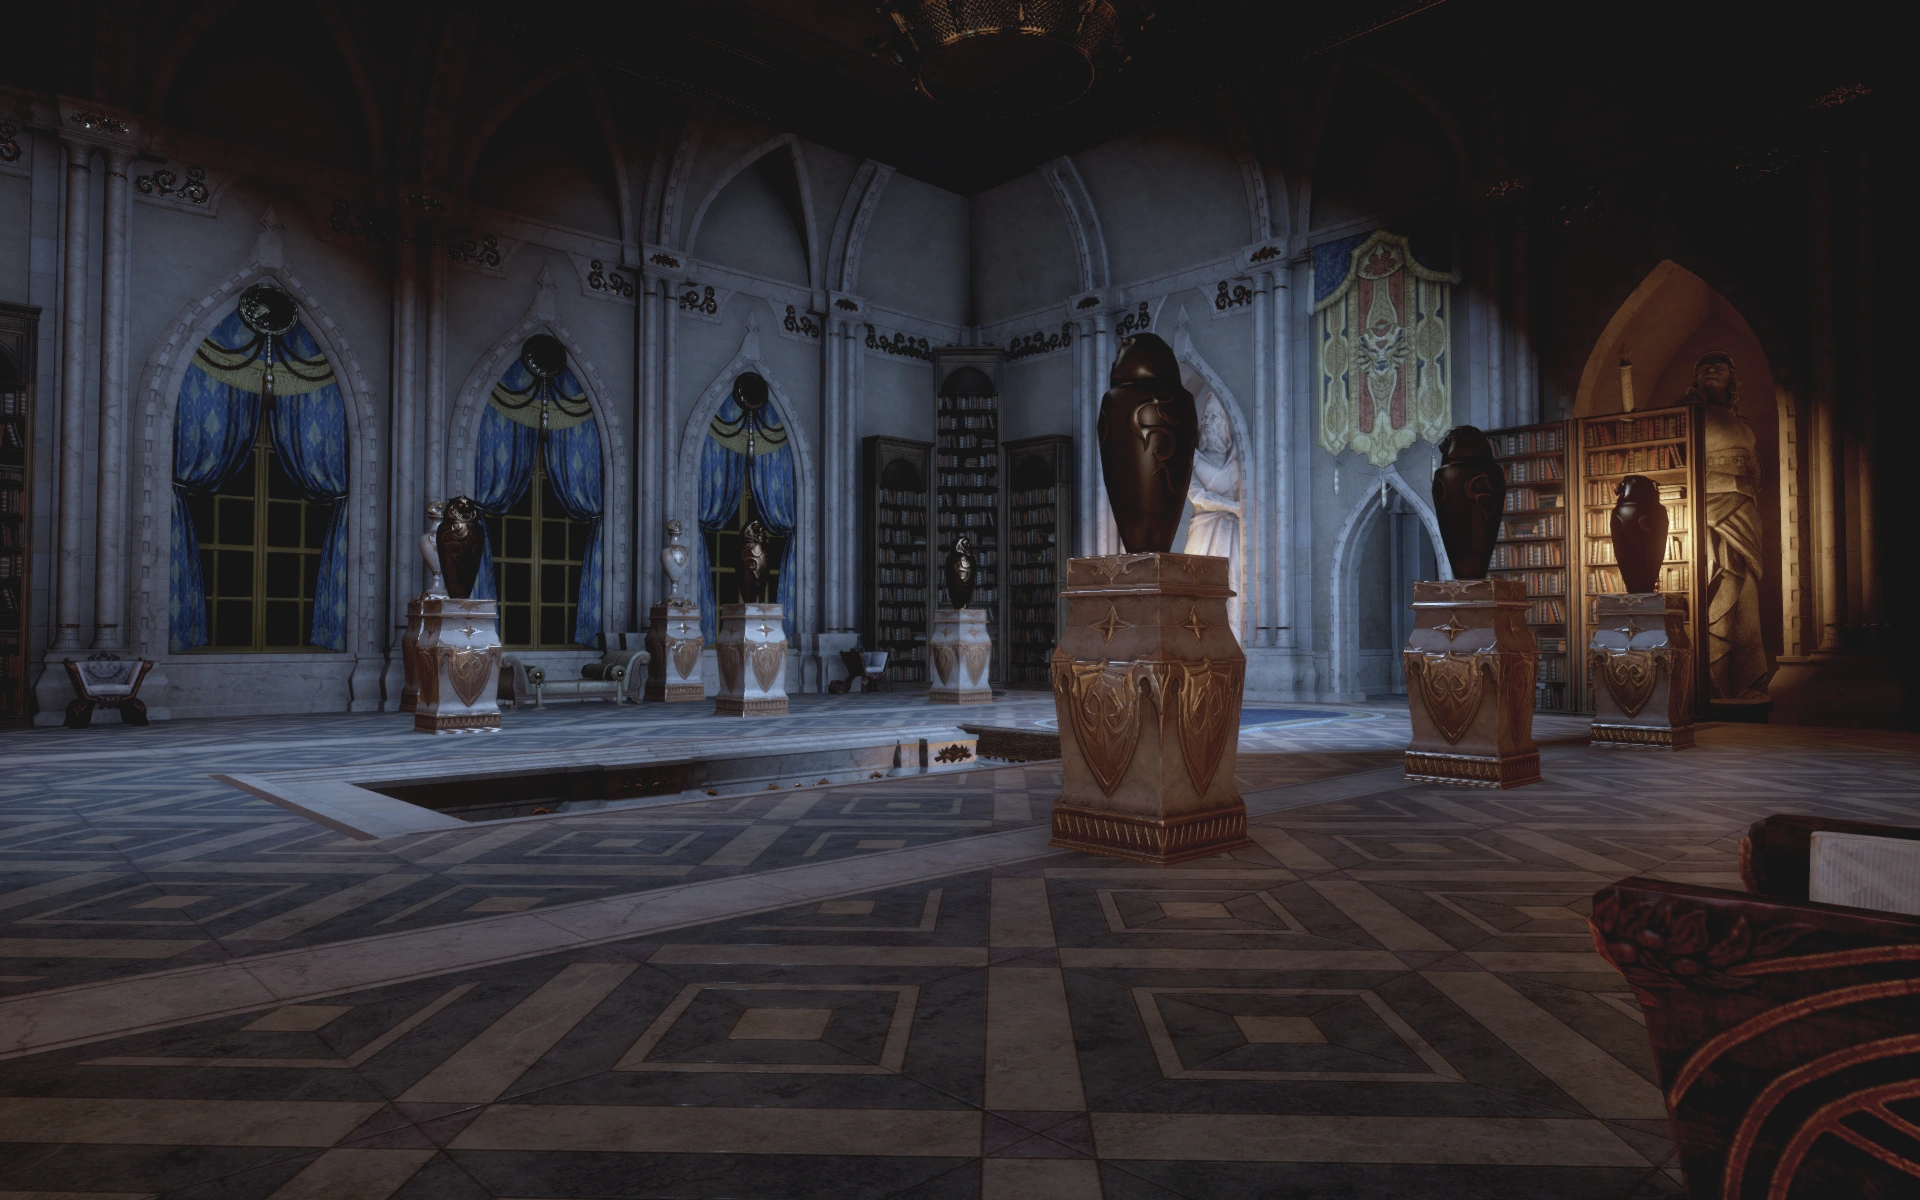
Enter the Ballroom
The Great Blackmail Hunt: Use the two eavesdrop locations before proceeding to the grand ballroom (2/30 & 3/30).
Approach Celene
The Grand Duke, the Inquisitor, advisors and party members will be announced at court. In order to hear all of the announcements, do not move to the top of the steps by Gaspard too quickly.

Approaching Celene
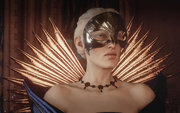
After you arrive next to Gaspard, the Grand Duchess Florianne de Chalons will be introduced and Empress Celene will greet the Inquisitor:
- Top option -
 Court Approval 10 (Elf, Dwarf, and Qunari received no change to approval rating when selecting this option. Mages will also receive no approval unless Vivienne is in your party.)
 - Middle option - Court Approval 5
- Bottom option - Court Approval -15
- Top option -
The second set of choices have no court approval changes. Leliana will ask the Inquisitor to see her when they have a moment.
Phase 1: Speak to Leliana, Listen Closely, Celene's Occult Advisor and Eavesdrop on Briala's People
Preamble
Mingle with the court and the party members and advisors. If brought for the quest, Sera will be near the northwest corner of the ballroom, and asking about her "friends" will begin Red Jenny's Stashes. Speaking with her can also bring approval changes, see Approval. Also in the northeast corner, there is a Volume I of Codex entry: A Compendium of Orlesian Theater sitting on a bench. Go back to the Vestibule and a scene with Leliana begins. She mentions that an "occult advisor" seems to have charmed the empress and the court, while the Inquisitor mentions that Gaspard is pointing fingers at Ambassador Briala.
Both leads warrant investigating the Guest Wing. To progress, three items must be found:
- The Cylinder Seal in the Hall of Heroes.
- Negotiations in the room of the upper Guest Gardens.
- Letter in the Grand Library.
The order in which they are acquired doesn't matter, but once the third one is picked up, the Inquisitor will have limited time to return to the ballroom.
The doors leading to the Grand Library from the Vestibule are locked from the other side, so another way in will need to be found. Examine the nearby plaque to update Codex entry: Winter Palace.
Enter the guest wing
Return to the entrance to the guest wing and enter the Hall of Heroes.
→Throwing Away Money: When you enter the Hall of Heroes, look to the right and go down the first set of stairs and there is a coin (2/15) between the east side of the statue and the couch.
→Briala's People: Head into the Hall of Heroes via the newly opened doors and approach the Whispering Elf. Eavesdrop on the elves to learn about a package delivered to a room in the upper garden.
Hall of Heroes, Lower Level
Continue into the next corridor, corridor {A}.
→The Great Blackmail Hunt: There is an eavesdrop circle next to the first gold lion on the left (4/30).
Take a brief detour into the small room to the left.
→The Great Blackmail Hunt: There is an eavesdrop circle to the right just after entering the room (5/30).
→Throwing Away Money: There is a coin (3/15) next to the first lion on the right.
Volume II of Codex entry: A Compendium of Orlesian Theater is sitting on the second lion statue on the right.
Speak to Duke Germain and ask about Gaspard being his nephew for ![]() Court Approval 5 (this also counts towards The Great Blackmail Hunt (6/30)). Leave the room.
Court Approval 5 (this also counts towards The Great Blackmail Hunt (6/30)). Leave the room.
The Council of Heralds Vassal will be pacing the hallway. Choose "Philippe is a jerk!" for ![]() Court Approval 15. The other option gives
Court Approval 15. The other option gives ![]() Court Approval -10. Either response counts towards The Great Blackmail Hunt (7/30) and serves as evidence to use against Gaspard.
Court Approval -10. Either response counts towards The Great Blackmail Hunt (7/30) and serves as evidence to use against Gaspard.
→Briala's People: Proceed down the hallway to find another Whispering Elf to eavesdrop on. If you are an elf, the Whispering Elf will speak to you directly and warn you not to venture into the Servant's Quarters if you value your life.
Turn left into the room the elves went into and exit through the door onto the balcony. Searching will find the first item, the cylinder seal next to a flower pot.
Enter the garden
Return to the corridor {A} and exit west into the Guest Garden. Celene's ladies-in-waiting will deliver a message from the empress. None of the dialog options have any approval effects.
→The Great Blackmail Hunt: Turn right sharply and walk between the balustrade and the wall to find an eavesdrop circle most of the way down the walkway (8/30).
Go back to entrance door and make a u-turn around the balustrade. Any Caprice Coins found can be tossed into the nearby fountain for ![]() Court Approval 1.
Court Approval 1.

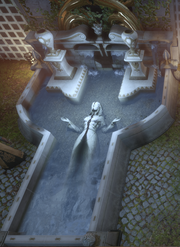
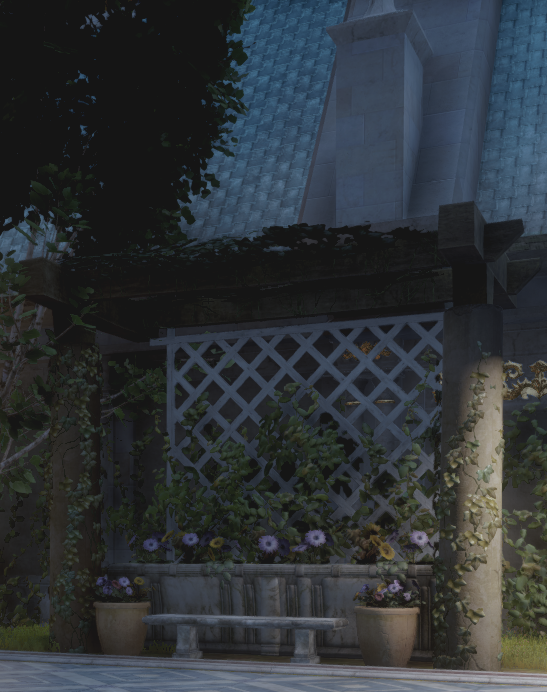
Caprice Coin Pool. The climbing lattice is at the top left.
The action marker will disappear when the player no longer has any coins left. Throwing in all 15 awards 200 Influence. This does not need to be all at once.
Heading back south through the middle of the garden, if you have brought Dorian along, you can dialog with him for approval. See Approval.
→The Great Blackmail Hunt & Red Jenny's Stashes: To the southwest of Dorian, along the west wall between a tree and a lantern are two nameless nobles. Jump the balustrade right behind them to find an eavesdropping circle. Eavesdrop twice on them for two Great Blackmail Hunt secrets (9/30 & 10/30). Turn left into the cobweb room for a loot sack and a loot box for Red Jenny's Stashes (1/3). Jump back over the balustrade and speak to the nameless noble. Choose one of the options to receive aid for the Inquisition (100 Influence, +1 Power).
Continuing north, turn left at the gap. The door to the lower garden is to the west, but it requires 3 halla statuettes and so it cannot be opened at the moment. Head up the lattice.
The upstairs garden
Approval Timed Section
Climb the nearby lattice to the Upper Level. Once at the top, the Inquisitor will be in an area deemed off-limits. The Court notices the Inquisitor's absence, and so court approval will steadily drop (at a rate of about -1/min.) while in this area.
→Herd of Stone Halla: At the top of the lattice, turn right and right again to find a Halla (2/10) on the railing most of the way down the balcony.
→The Great Blackmail Hunt: Past the Halla statue, at the very end of the balcony is a scandalous secret (11/30).
Return to the lattice, continue straight and open the Upper Garden Door. It requires one halla statuette to be opened. You must open this door to advance the main quest. Grab the loot from the chest and pick up the Negotiations on the floor once you enter the Halla door to obtain the second item in the objective.
Return to the lattice and turn left to enter the Grand Library doors.
Move past the urns on the left and search the bookshelf to find a hidden switch. This opens the back door of the library. Go in but do NOT pick up the letter just yet or the rush to the ballroom will start.
Instead, turn right, grab the veilfire torch, and light the urns in the following order:
Etienne I -> Reville -> Etienne II -> Judicael I -> Judicael II -> Florian
Head down into the secret study, and the first chest on the right always contains Confusion Grenade Recipe. One of the other chests always contains a Masterwork Magister Staff Blade Schematic. Hidden items and a couple loot containers are in the main room of the library.
Grand Library.
Go back up the stairs from the secret study, turn left and pass through either door. Go down the stairs. If the Inquisitor is a rogue, turn right and unlock the door for two loot boxes.
→The Great Blackmail Hunt: Straight ahead out of that room (left at the bottom of the stairs if not a rogue) is an open room with a loot box and a scandalous secret (12/30).
→The Great Blackmail Hunt: Continue down the long hall that has a loot box and a scandalous rumor book (13/30) on the left and eventually leads to double doors leading back to the Vestibule. Be sure to open one of these doors to allow easier access later.
If Cole was brought along, he will be here for dialog. None of the options change his approval.
Return to the secret room where the veilfire is. Grab the loot and then the letter.
Return to the ballroom
The first bell will ring, signaling that it's time to return to the ballroom. Depending on which bell is ringing when you enter, you can gain or lose court approval:
- Enter after the first bell, on time - No Court Approval change
- Enter after the second bell, fashionably late - Court Approval 10
- Enter after the third bell, actually late - Court Approval -20
Attempt to enter the ballroom to instead meet Celene's occult advisor, Morrigan. She encountered and killed a Tevinter agent and hands over a key she found on his body.
Phase 2: Make a choice
There are five different endings to the main quest, and choices made starting now will start eliminating some and moving the player down the path of some of the others. The endings and abbreviations used below are:
- Celene rules alone (CRA)
- Celene and Briala Rule (CBR)
- Public truce (PT)
- Gaspard rules alone (GRA)
- Gaspard and Briala rule (GBR)
For Celene and Briala Rule (CBR): Not all quests can be completed (Throwing Away Money, Red Jenny's Stashes and/or The Great Blackmail Hunt) as there aren't enough halla.
There are 3 choices you can make:
1. open the vault, (3) Halla door to get the locket for Celene and Briala Rule (CBR) & open lower garden (3) Halla door.
- Can complete Red Jenny's Stashes but not complete Throwing Away Money (14/15) and The Great Blackmail Hunt (29/30).
2. open (3) Halla door to get the locket for Celene and Briala Rule (CBR) & open royal wing (5) Halla door.
- Can complete The Great Blackmail Hunt but not complete Throwing Away Money (14/15) and Red Jenny's Stashes (2/3).
3. open lower garden (3) Halla door & open royal wing (5) Halla door.
- Can complete Red Jenny's Stashes, Throwing Away Money and The Great Blackmail Hunt but Celene and Briala can not Rule together.
Enter the ballroom (Celene and Briala Rule (CBR))
The Behind Every Empress quest starts.
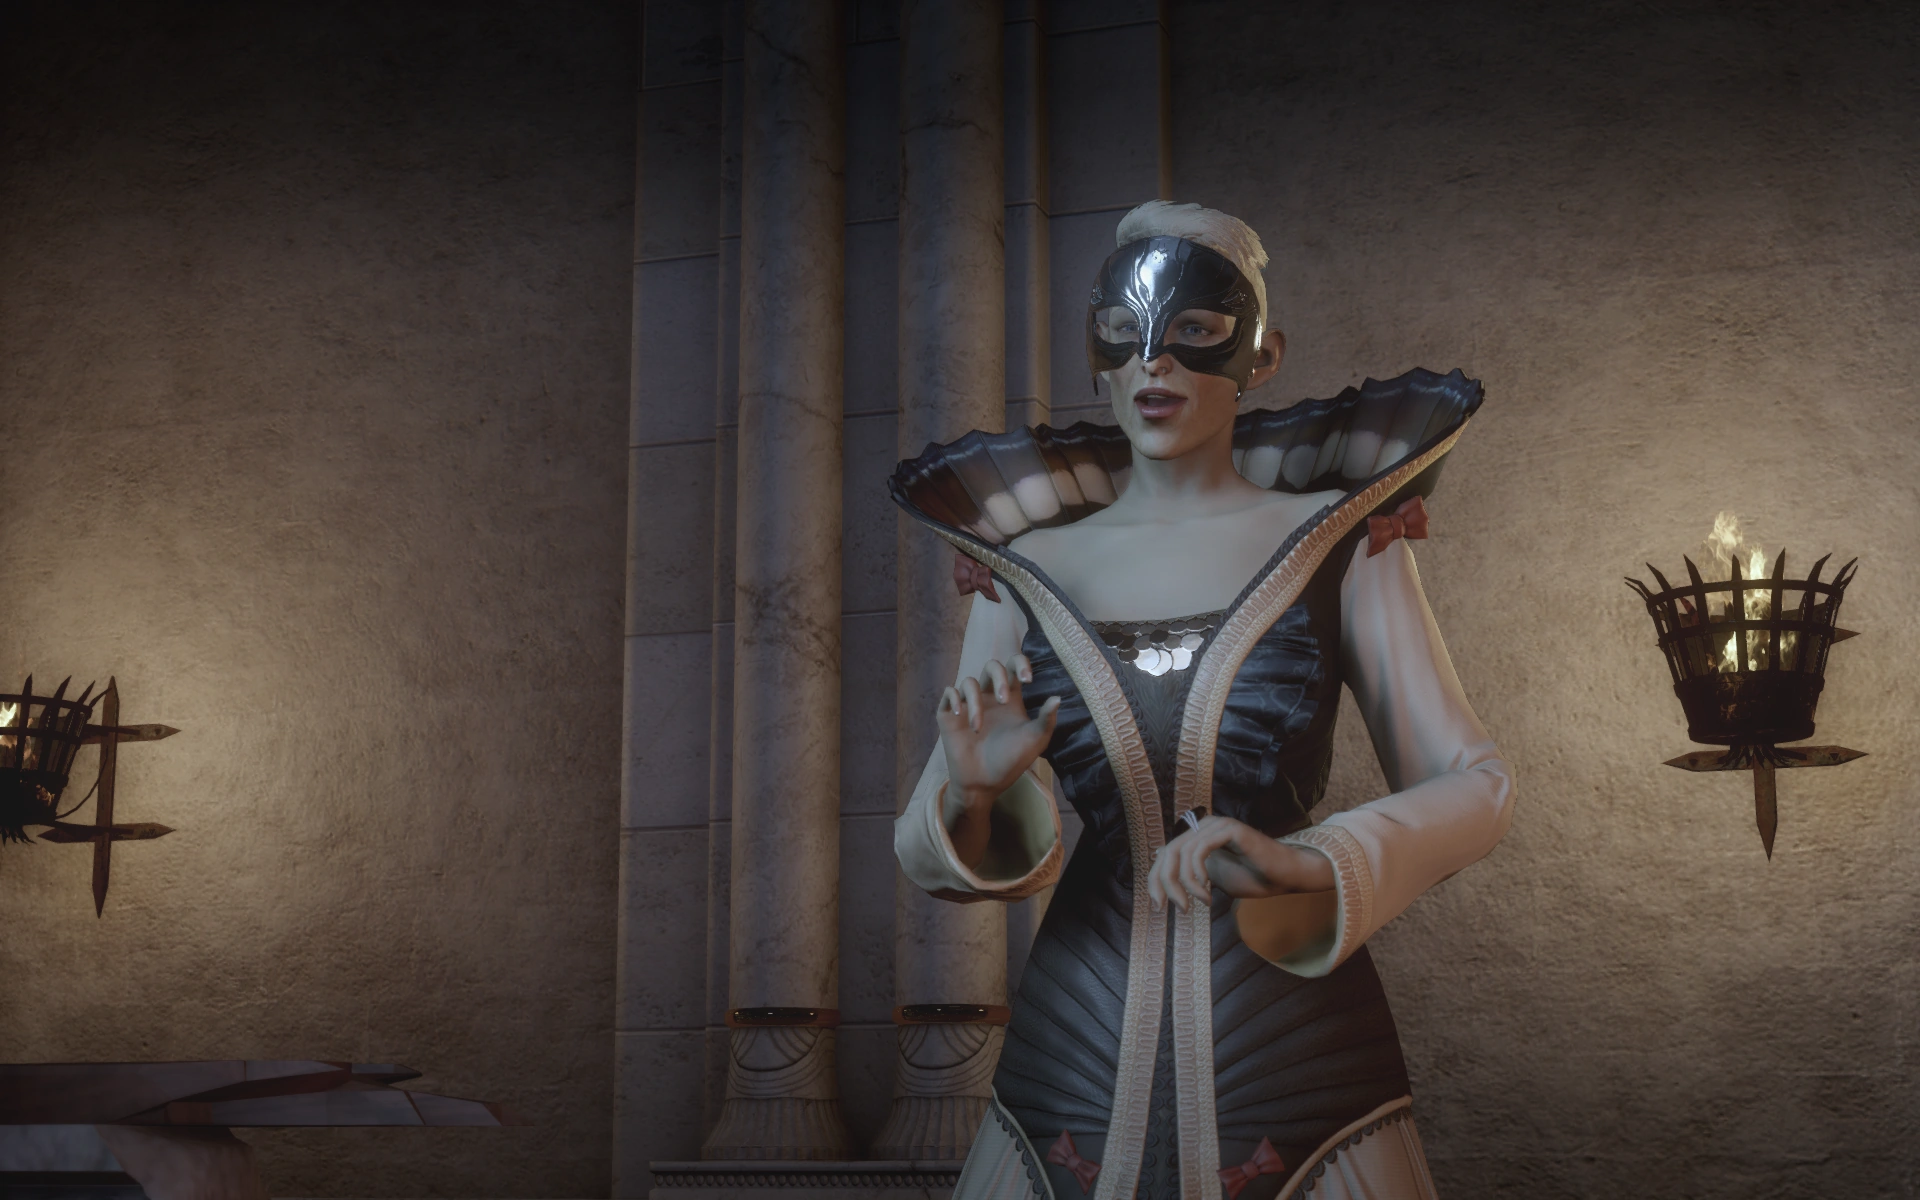
Turn right and go down the side of the room. Talk to the The Dowager. The nobility knowledge option unlocks Dance with the Dowager: The Allemande and gives ![]() Court Approval 5.
Court Approval 5.
→The Great Blackmail Hunt: Continuing on, chat with Leliana to drop off the 13 scandalous secrets you have at this point to start the Social Leverage quest.
At the first right, exit the hall to the balcony and talk to Briala. Explore all or none of the options, they have no in-game effect. Talking to her marks the quest stage for her as done.
Re-enter the ballroom and turn right. Speak with Lady Fleur, the middle of the ladies-in-waiting to complete Behind Every Empress.
Continuing counter-clockwise, ignore the next balcony. Celene is there but cannot be spoken with. Gaspard is on the next balcony. Talking to him presents his take on the situation and others, completing the three-way opinion circle of the three parties.
Return to the vestibule door and exit.
Enter the servants' quarters
Re-enter the Hall of Heroes and go to the west end of the lower level. Go through the door.
Start approval timed section
Equip everyone's arms and armor. This area is off-limits so court approval is ticking away, though time is frozen in the inventory screen.
Step forward and examine the corpse for a bit of companion dependent dialog. Turn right and go through the archway into the bedroom. Grab the loot from the box and pick up the battered journal for the Diary of a Nosy Servant message.
→Herd of Stone Halla: Continue counter-clockwise into the kitchen.

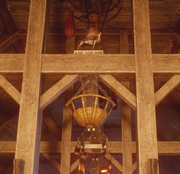
The halla up on the rafters.
There is a halla statuette (3/10) on the rafters which is tricky to get to under time pressure. Standing on the candles mounted on the beams just below the statue is an easy way to pick it up. Another way to get them is to jump onto the barrels in the northeast corner and then onto the nearby beam and walk slowly along the rafters. Jumping on the large red barrel and then jumping towards the statuette while mashing the action button can work as well. A third option is to jump on the table, pause the game, and use the mouse to click the statuette. The third option does not work with dwarves, being too short to reach the halla.
Counter-clockwise again takes you to the entry room. Turn right and exit to the gardens.
Try to explore the gardens
→Herd of Stone Halla: Exiting into the gardens, take an immediate left and bear left to the southwest corner where there is another Halla Statuette (4/10). After grabbing it, head towards the fountain and fall down to begin a cut scene. An emissary for the Council of Heralds is found dead, and a nearby weapon bears the Chalons family crest.
Find the Harlequin
Kill the group of Venatori that appear. Explore the garden to find several lootable containers.
Red Jenny stash detour To get both the stash and caprice coins, both north and south sides of the garden will need to be explored. If not following the Red Jenny's Stashes quest, simply proceed north from the fountain the cut scene leaves you at.
→Red Jenny's Stashes: From the fountain go south, take the west path, follow it to the end and then go south. The stash (2/3) is a loot chest near some Embrium.
Return to the fountain where you found the body.
End Red Jenny's Stashes detour
Go north and grab the loot by the fountain on the right and continue north. There will be Venatori off to the left. Kill them or ignore them.
→Herd of Stone Halla, Throwing Away Money: Proceed north until a wall is reached. Turn right, go up the stairs, down the walkway and up the ladder. In the balcony room, there is a loot chest and a Halla Statue (5/10) in the corner. On the balcony railing, there is a caprice coin (4/15) on the south balcony pillar closest to the wall.
Go back down to the ground floor and kill the Venatori. Continue west until a vine covered wall is reached. Turn left and go through the archway.
Grand Apartments
Enter the apartments.
→Throwing Away Money: Turn Left and enter the bedroom, look to the left on the middle bed there is a Caprice Coin (5/15).
Exit the room go forward into the kitchen. There is a supply cache here if needed. Return to the previous room and turn right. Go through the small room into the dining room. Kill the Venatori in the dining room. Grab their loot and on a table against the north wall is a paper to be read that unlocks the Codex entry: The Lion of Orlais. In the partitioned area along the west wall is a loot box.
→Throwing Away Money: On the westernmost table along the south wall there is a Caprice Coin (6/15).
Exit south to the library. Read the paper on the table to unlock Volume V of Codex entry: A Compendium of Orlesian Theater. Exit east from the library into the room with the fireplace and the long tables. Kill the Ventori. On a table is a book that contains Codex entry: Jeshavis, Mother of Orlais.
Head up the stairs, turn left and clear out the room to the left. A book on a nightstand updates Codex entry: Winter Palace.
The nearby door leads to the empress' vault and requires 3 halla statuettes to open. Inside the vault:
- a loot chest contains a few random items.
- another loot chest always contains a Masterwork Crow Blade Schematic and a few random items.
- an elven locket—required to reconcile Celene and Briala at the end of the quest. (Acquiring the locket is required but NOT enough to Reconcile Celene and Briala. See Possible endings below for details.)
Turn right out of the room and right again. A book is on a fancy desk on the left and it unlocks Codex entry: Mad Emperor Reville. Continue to the next corridor to face off against the Harlequin and a large group of Venatori. The Harlequin always drops Crescent Slicer. A scene with Briala begins after all enemies are eliminated.
→Herd of Stone Halla: There is a halla statue (6/10) in the corridor with the Briala and the Harlequin.
Return to the Hall of Heroes
Dropping off the right side of the balcony is the quickest way down, but there is some not-so-apparent loot to be found. Once the scene is over, head back the way the party came to find an open window. Jump diagonally across to the larger balcony to find more loot. Back to the original balcony, jump over the northern railing to land on a lower balcony near a large pile of gold. Either jump off this lower balcony or switch to another party member that is still up top.
If the balconies are not taken, turn around, go back through the the desk room, exit south, take an immediate left and go downstairs. Take a right at the bottom of the stairs, a left into the library and straight out into the gardens. Turn left, go up the stairs and open the gate that goes back to Palace Main.
End approval timed section
Return to the ballroom and dance with Florianne
Exit the Servants' Quarters, go back through the Hall of Heroes, turn right at the Ballroom door and as usual, wait for the second bell.
Head south and enter the gate to return to the Hall of Heroes. Gaspard's Clandestine Meeting is active but there is no time for that now. The bell will be ringing again, although it's possible to miss hearing the first bell due to the game loading. Again, wait for the second bell and enter the ballroom. A scene begins with Florianne. Any options not listed below have no court approval changes.
Dance with me...
- Two women dancing? (female only) Court Approval -10
- Let's dance. Court Approval 10
- Let them hear us. Court Approval -15
...What do you know about our civil war?
- (Nobility Knowledge) Orlais' war is Thedas' war. Court Approval 5
- As much as I care to. Court Approval -10
The security of the empire is at stake...
- I can agree with that./That's why I'm here. Court Approval -10
- Is that what we both want? Court Approval 10
You are a curiosity to many...
- I'm here to help./Not my problem. Court Approval -10
- Which am I to you? Court Approval 5
...Who in the Court can be trusted?
- I trust Celene/Gaspard/Briala. Court Approval -10
- (Underworld Knowledge) I trust no one./I trust the Inquisition./Who do you trust? Court Approval 5
It cannot have escaped your notice...
- All options: court approval at 50 or lower results in Court Approval -15, higher results in Court Approval 5 (the game displays Court Approval 5 but it actually adds 10)
Florianne ultimately suggests investigating the Royal Wing. Another scene with the advisors begins immediately. Leliana reminds the Inquisitor that Corypheus wants chaos in the empire. She also says that there are many ways to bring stability to the empire, and not all involve Celene (hinting at multiple endings for the quest).
→Throwing Away Money: Circle the ballroom to find a coin on a railing post north of Josephine (7/15).
→Throwing Away Money: Approach the door of Vestibule, before you leave, there was a coin at the left side in front of the statue. (8/15).
Re-explore the Palace and Find Material to Blackmail Gaspard and Briala
If the elven locket was retrieved, now is the time to speak to Briala and then the empress' ladies-in-waiting about it. Doing so allows the two of them to possibly reconcile at the end of the quest. The Inquisitor can optionally confront Gaspard and Briala with any evidence gathered, as well learn more about their backgrounds if they didn't do so earlier.
Back in the Vestibule, go all the way down the hall to the dwarvers, take a left and Volume IV of Codex entry: A Compendium of Orlesian Theater has appeared on a bench across from the entrances to the Grand Library.
Re-explore the Grand Library
Start approval timed section
Enter the Grand Library.
→The Great Blackmail Hunt: A scandalous secret has appeared on a table on the right (14/30).
Go to the base of the stairs, turn left to find a hidden book that updates Halamshiral Investigation: Clues. Go up the stairs and around the stairs down to the secret library. Grab the loot from against the wall.
→Throwing Away Money: Go out to the balcony, turn right and find a caprice coin (9/15) on the first pillar of the south running railing.
End approval timed section
Re-explore the gardens
Drop any caprice coins into the pool to raise approval back up.
→The Great Blackmail Hunt: From the pool, go west past the balustrade to the door and turn right. At the end of the walkway is a secret correspondence (15/30).
Cut southeast across the gardens and re-enter the main floor of the palace.
Re-explore the west side of the palace
→The Great Blackmail Hunt: Take a right and there is a scandalous lead on the table (16/30). Just east of there, on the floor between the lion and the couch is the secret merchant treaties (17/30).
→The Great Blackmail Hunt & Throwing Away Money: Go east into the next room and the secret correspondence (18/30) as well as a Caprice Coin (10/15) is on a couch against the north wall.
→The Great Blackmail Hunt: Go south out onto the balcony and take an immediate left to find an eavesdrop circle (19/30). Hop the balustrade to find the secret correspondence (20/30). Make a u-turn, hop back onto the balcony, continue straight and the secret research is on the bench (21/30).
Return inside. Go west to the corridor.
→The Great Blackmail Hunt: Go East to Germain's room. The scandalous code is in the southeast corner (22/30).
Go back to the corridor and take a right.
→The Great Blackmail Hunt: Along the west wall by the vase is the secret trade documents (23/30).
Continue North and exit east into the Hall of Heroes.
→The Great Blackmail Hunt: Take an immediate left, go down the stairs and u-turn around the banister. The scandalous password is next to the far end of the couch (24/30).
Trophy Room
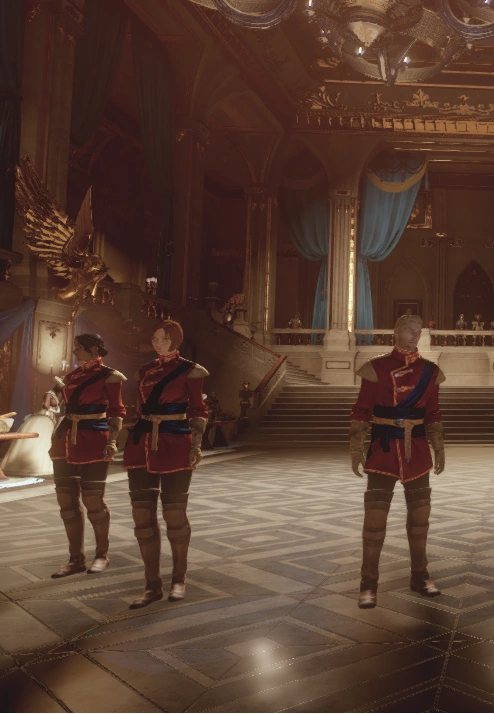
Approach the trophy room to the north of the Hall of Heroes and trick the guards (Ambassador Anton) into going to Cullen, which also awards ![]() Court Approval 10.
Court Approval 10.
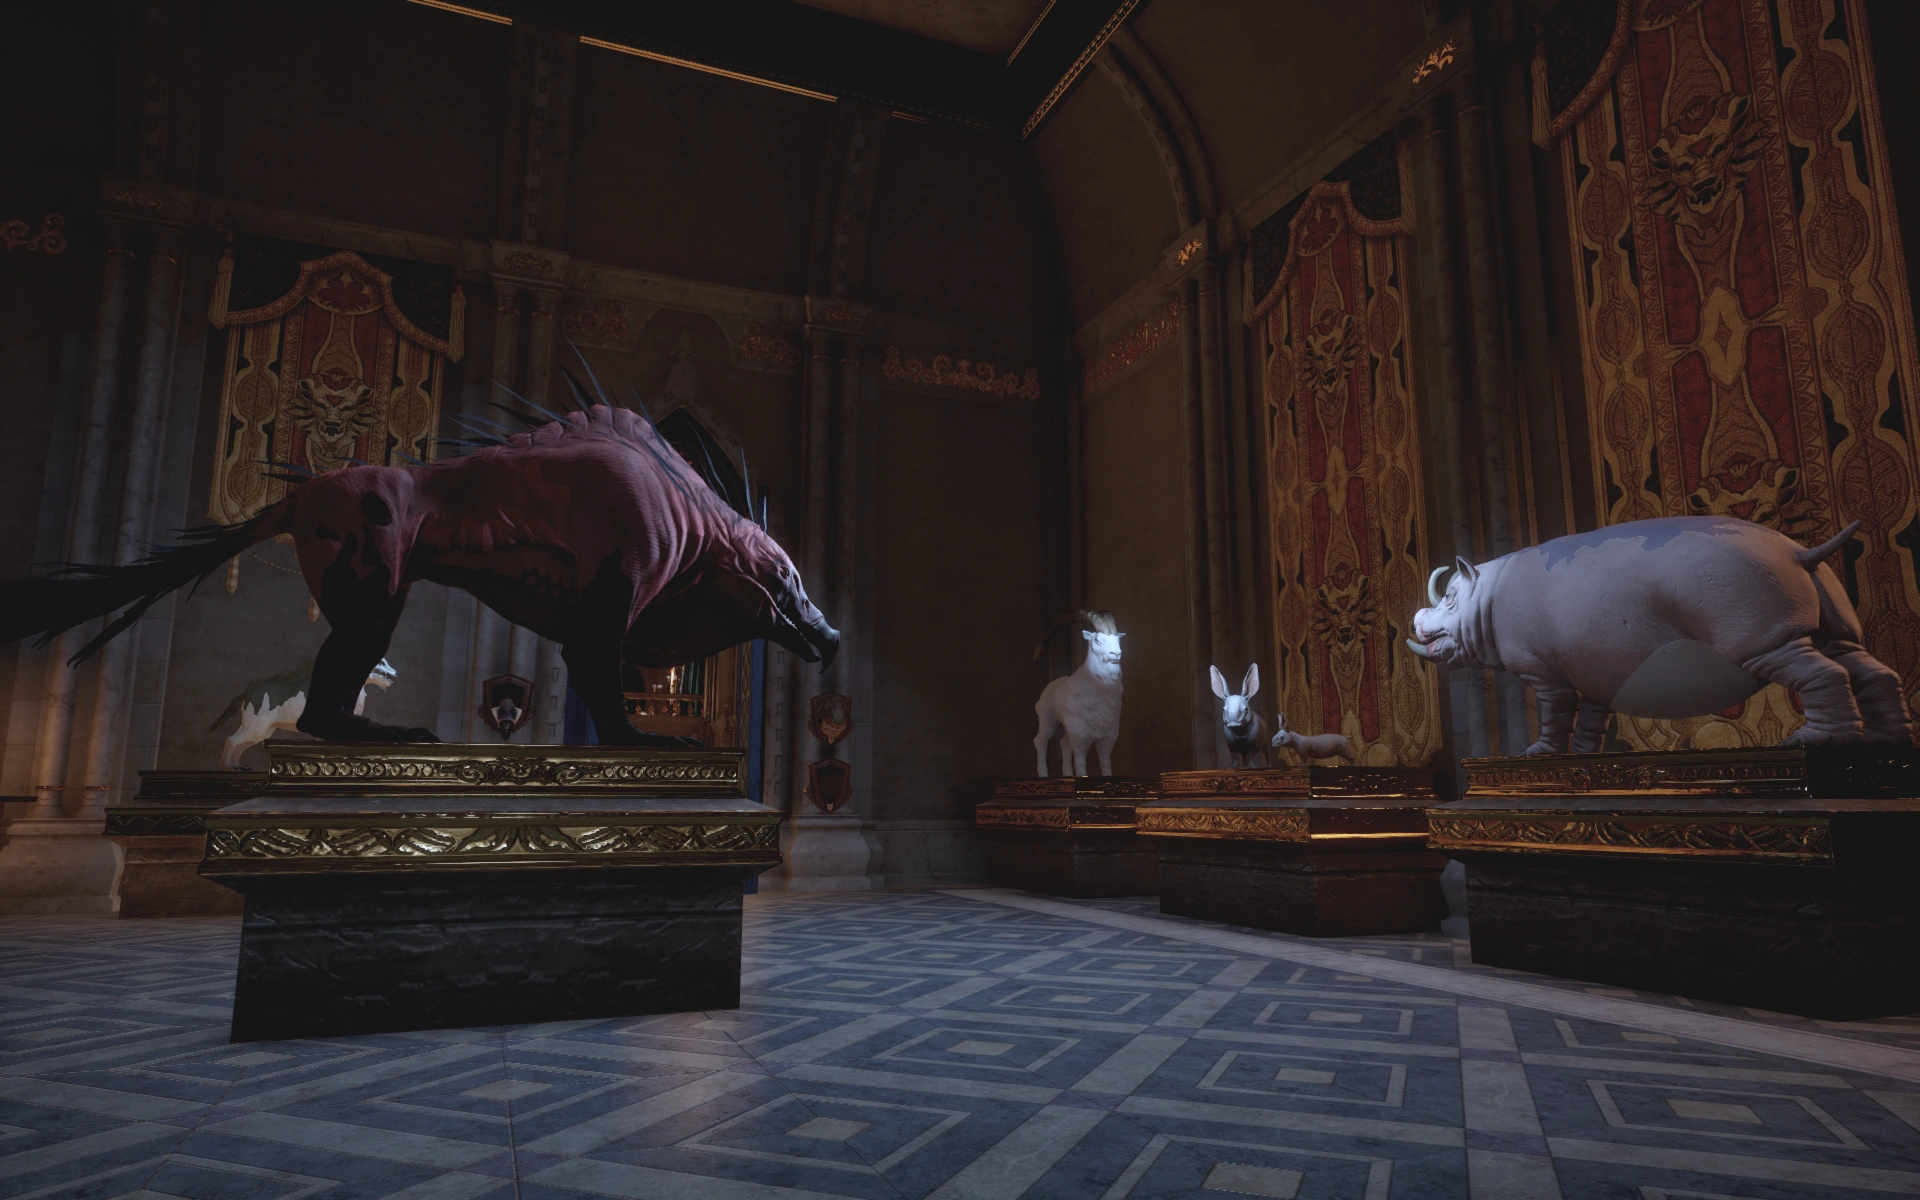
Trophy Room
Start approval timed section
Enter the room, turn right.
→The Great Blackmail Hunt: There is a scandalous password (25/30) on the table between the bookcase and the stuffed mabari.
Open the back door of the trophy room and enter the office. If the Inquisitor is a rogue, open the door on the left and loot the container within. Loot the box in the back of the office. Grab the secret orders as material to blackmail Gaspard.
→Herd of Stone Halla: Grab the halla (7/10) from the desk.
Return to the main trophy room.
→Throwing Away Money: Take the coin (11/15) from the floor in front of the baby nug.
Exit the trophy room.
End approval timed section
Lower Garden Door option
It's possible to Open the Lower Garden Door at this point.
Reasons to Open the Lower Garden Door:
- 128 XP, 80 Influence upon opening
- It is NOT necessary to open as far as satisfying requirements for a specific ending
- Must be opened to complete Throwing Away Money and Red Jenny's Stashes
- →Throwing Away Money: Caprice coin (12/15) is on bench where the remain Heralds are partying.
- →Red Jenny's Stashes: The chest (3/3) is behind the lattice that is behind this bench.

Bench on which caprice coin is found. Red Jenny Stash is behind the lattice behind the bench.
- The Orlesian Banner is found in a chest just past the door.
- Enchanter Coat Arms schematic in another chest.
- Volume III of Codex entry: A Compendium of Orlesian Theater
- The remaining members of the Council of Heralds can be spoken to and unlock Codex entry: Council of Heralds. However, if Varric was brought for the quest, they will be talking to him about his books, and they cannot be interacted with.
Vestibule cleanup
Return to the vestibule.
→The Great Blackmail Hunt: Go down the stairs, turn left and the secret love letter is on the bench (26/30).
→The Great Blackmail Hunt: Go back upstairs, head for the dwarves and turn right. There is an eavesdrop circle at the top of the stairs (27/30).
→Throwing Away Money: There is also a coin (13/15) by a pillar south east of the dwarves.
Go up the stairs on the right to find the entrance to the Royal Wing.
Explore the Royal Wing
Enter the Royal Wing, which is an off-limits area.
Start approval timed section
The Inquisitor will need to re-equip weapons, armor and helmet. Companions should appear ready to go.
→The Great Blackmail Hunt: Take a quick left and the scandalous testimony will be on the desk (28/30).
Go up the stairs and into the Royal Quarters. Take a right and then a right through the door. Loot the two containers.
→Herd of Stone Halla: Take the halla (8/10) from off the chair-side table.
→The Great Blackmail Hunt: In the southwest corner of the room, is a large book on a couch. The scandalous testimony is on top of it (29/30).
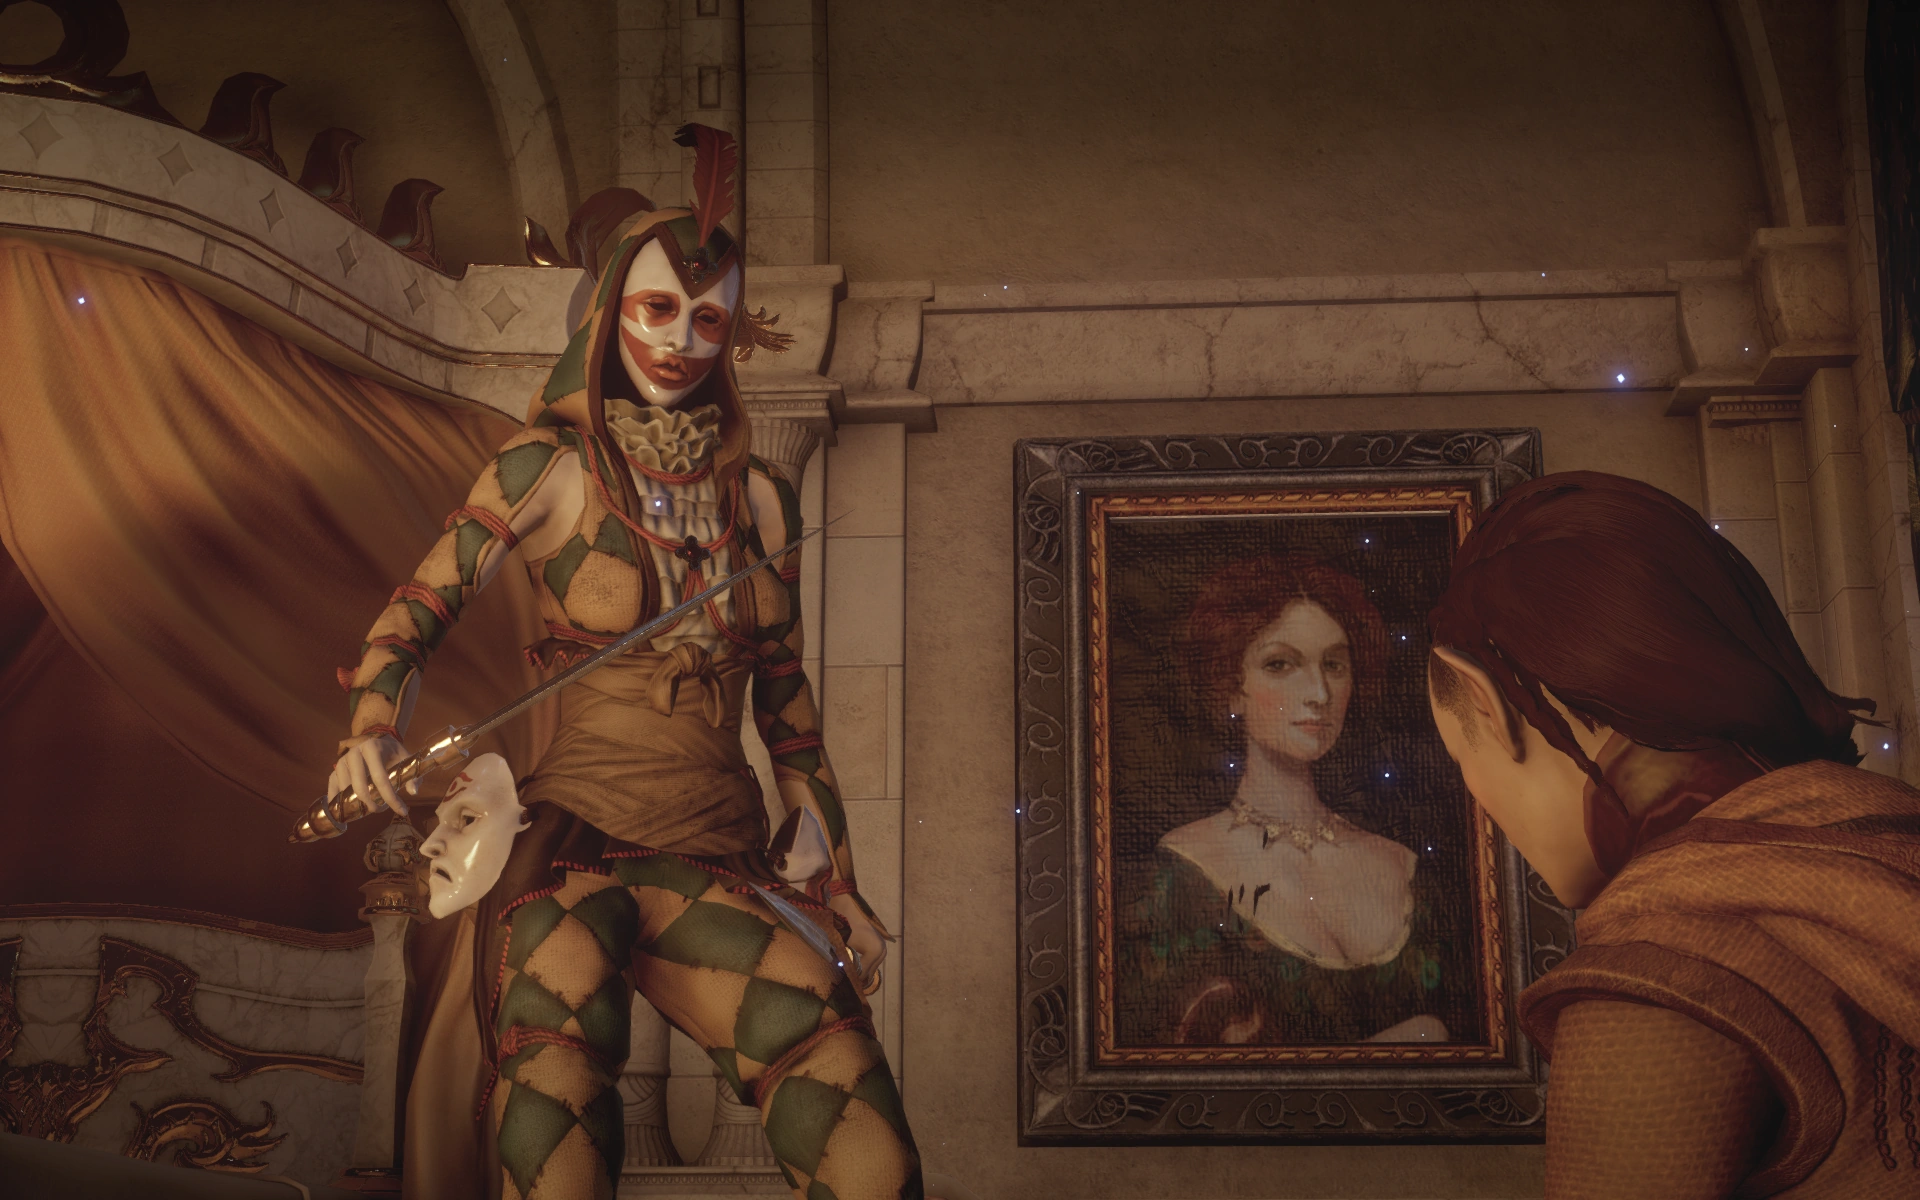
Exit the room and go past the locked door; a scream will be heard upon approaching the next door on the right. Open the door and a cut scene plays where the Inquisitor defenestrates a Harlequin. Interviewing the elven servant provides the blackmail evidence against Briala.

A Harlequin, before their interrupted attempt to kill the elven servant.
→Herd of Stone Halla: After the cut scene, a halla statue (9/10) sits on top of a nearby lion chest.
Loot the footlockers in the room for random loot.
Upper Royal Wing Door detour
The Inquisitor will need to choose whether or not to Open the Upper Royal Wing Door. This door, which leads to the Empress' Private Quarters, requires 5 Halla statuettes to open. Reasons to open it:
- The Great Blackmail Hunt (30/30) and Throwing Away Money (14/15) can only be completed if this door is opened.
- It is strongly advised to return to Leliana at this point, deliver the blackmail and then return here. After the trap is sprung, there will be no chances left as entering the ballroom causes a cut scene.
- Acquire material to blackmail Celene (which gives you more options for the ending).
If the door is opened, and the soldier is spoken to:
- I need you to testify. (Free him to obtain blackmail on Celene.) - Cassandra Slightly Approves
- You can stay here. (Leave him.) - Dorian Slightly Approves, Sera Slightly Approves
In order to retrieve the Caprice Coin, the soldier must be released, one way or the other. Releasing him awards ![]() Court Approval 10.
Court Approval 10.
Continue on in the Royal Wing
Return to the room the Harlequin and the elf were in. Turn right and head south down the passageway. The passageway dumps off into a corridor of covered furniture. As you traverse the corridor, a Fereldan is heard cursing Orlesians. Go through the doors on the right to the balcony. Go right along the balcony, pulsing search.
→Herd of Stone Halla & Throwing Away Money: When the indicator starts,

The balcony window to jump through to enter the sealed off room.
jump through the window into the room to find a halla (10/10) on the ground in the southwest corner and a caprice coin (15/15) on the table on the other side of the aisle.
There is loot on one of the rear tables and a supply cache if needed. Return to the covered furniture hallway. Turn right, go down the stairs and find the last halla statue (11/10 - the quest only counts the first 10 statues found) by the bookcase.
At this point all possible side quest items could have been collected.
(Optional) reconcile Briala and Celene
- If you are interested in reconciling them and you haven't yet collected the Elven Locket, you need to backtrack and acquire the locket in the Servant's Quarters 2nd Floor Halla Room (requires 3 Halla Statues).
- Once you acquire the locket it still needs to be "activated". Activate this line by confronting both Briala and Empress Celene's Ladies-in-waiting in the rear of the main ballroom. Briala will expalain her side and once the locket is shown to the Ladies-in-waiting a small cut-scene will trigger with you and the Empress. The Empress confesses that their may still be feelings leftover from their past relationship.
- Step into the trap in the Royal wing. Here you find Florianne and a Fade rift. Close the rift and re-enter the party. Cullen should immediately stop you and ask you what to do next. Depending on your choices (Celene must live) Gaspard, Briala, Celene and the Inquisitor retreat to a private room to disscuss the nights events.
- During this final discussion you must give Briala partial credit for rooting out the assassins, if not the result will be ruined. [confirmation needed] You need to also accuse Gaspard of treason. If done correctly, the inquisitor, Briala and Celene will return the Ball and Celene will declare that Briala is a Marquise, the newest member of the Orlesian Nobility.
Rewards: All endings reward you with a war table operation. However, Reconciling Celene and Briala is the only outcome that will give you an Amulet of Power for the Inquisitor through a war table operation. See A Gift from the Imperial Palace war table operation for details.
Evade the trap and reach the climactic confrontation
Go through the doors opposite the balcony doors.
The assassin unmasked
This causes a cut scene to take place and the party is ambushed. There will be a dialog with Florianne which provides the following option (all other choices have no effect):
Corypheus insisted...
- It's not too late to end this. - Sera Slightly Disapproves
- I'm sure he'll get used to it. - Sera Slightly Approves
The rift will spawn a random combination of wraiths, shades, greater terrors, despair demons and/or rage demons. Close it (967 XP, 200 Influence and Power: +2) and a scene begins with the mercenary captain, who agrees to testify against Gaspard. If the Underworld Knowledge perk has been selected, an option to get his company to work for the Inqusition appears. This awards 100 Influence and Power: +1 ![]() Cassandra Slightly Approves,
Cassandra Slightly Approves, ![]() Sera Slightly Approves.
Sera Slightly Approves.
Return to Cullen with the Information Gathered
Head west to the locked door, turn right and loot the box. Go through the east door to find some gold. Then head south into Le Requiem and dispatch a small group of Venatori. Examine the podium to update Codex entry: Winter Palace and loot the two chests.

Jardin de Rêverie
Proceed down the stairs to encounter the final group of Venatori. Head through the northern hallway and a book on a shelf unlocks Volume VI of Codex entry: A Compendium of Orlesian Theater. Proceed into the next room and Choose a Lower Royal Wing Door if enough halla statuettes are held. Each door requires 5 halla statuettes and both doors can be opened, if you've gathered and saved 10 of the 11 Halla statuettes in the Winter Palace, even though the quest text by the doors suggests otherwise. Behind each door is a single loot container:
- The container behind the left door always contains a Lightning Rune and a couple random items.
- The container behind the right door always contains Enhanced Cooldown Amulet and a couple random items.
Head back and turn right, open the door and continue into a larger courtyard. Take a right and head through the north door into the kitchen, which contains the final supply cache and some gold on the adjacent table. Take a left out of the kitchen and into the dining room where there are two loot lockers, one on each side of the fire.
Go back out through the kitchens and straight across the courtyard. Open the door, turn left, go up the stairs and loot the footlocker. Go straight back and the doors will activate a cutscene.
The scene begins as Cullen asks the Inquisitor what they should do:
- I'll talk with Florianne. (Publicly expose the duchess' crimes to the court, avoiding further bloodshed.)
- Requires court approval of 85 or greater
- Necessary to gain the Belle of the Ball achievement
- Boss battle with Florianne is skipped (forfeit about 5500 xp and a unique bow)
- Dorian Greatly Approves, Solas Greatly Approves, Blackwall Approves, Iron Bull Approves
- This will lead to another choice...
- I will execute her myself. (Kill the duchess.) - Cassandra Slightly Approves, Sera Slightly Approves, Blackwall Disapproves, Cole Disapproves, Solas Disapproves
- Take her away. (Give the Duchess to the guards.) - Blackwall Approves, Cole Approves, Iron Bull Approves, Sera Approves, Solas Approves, Dorian Slightly Approves
- I will execute her myself. (Kill the duchess.) -
- Detain the duchess. (Save Celene's life, then deal with the duchess.)
- Leads to boss battle with Florianne
- Sera and Blackwall Approve; Cole Greatly Approves
- Wait for Florianne to attack. (Allow the empress to die before dealing with the duchess.)
- Leads to boss battle with Florianne
- Sera and Blackwall Greatly Disapprove; Cole Disapproves; Cassandra, Iron Bull and Dorian Approve
Confront Grand Duchess Florianne
Killing Florianne awards ~5500 XP and she always drops The Trepanner's Requital.
Endings
Whether a boss battle occurred or not, the final sequence of the quest involves a series of cutscenes and dialogue choices.
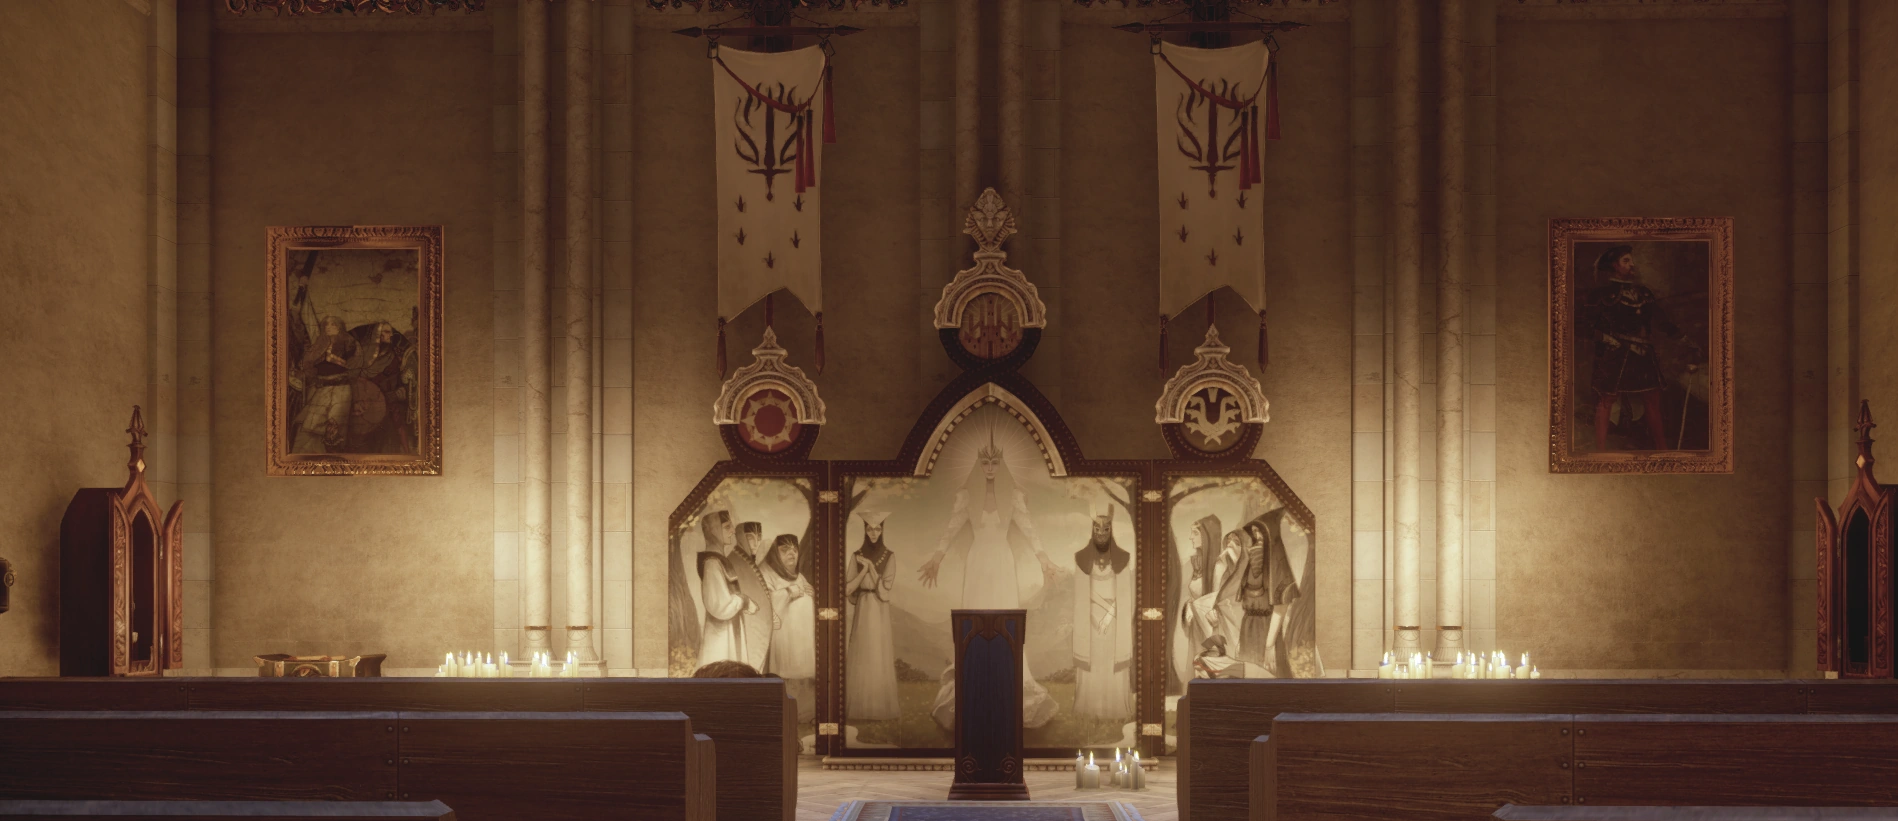
Celene rules alone (CRA)
Celene can maintain her place on the throne and rule alone:

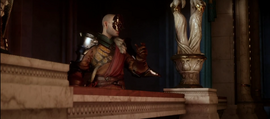
Celene addresses the court.
- Gaspard was planning a coup. (Reveal evidence of Gaspard's crimes to the empress.)
- As you wish. (Gaspard executed.)
- Briala is an accomplice. (Gaspard executed. Implicate Briala as well.) - Iron Bull Approves
- (Special) No, spare Gaspard's life. (Try to convince Celene to let Gaspard live. Requires sufficient Court Approval) - Blackwall Slightly Approves; Sera Approves; Cole Greatly Disapproves
- (Special) No, spare Gaspard's life. (Try to convince Celene to let Gaspard live. Requires sufficient Court Approval) -
Celene and Briala Rule (CBR)
Celene and Briala's relationship can be reconciled. Celene will maintain her place on the throne with Briala's support. Briala is given the title of Marquise:
- Briala helped stop Florianne. (Use the evidence gathered about Gaspard to support Briala.) - Solas Approves
- We have Gaspard's orders.
- He hired mercenaries.
- Do I really need to go on?
- What about Briala's reward? (Gaspard executed. Attempt to reconcile Celene and Briala.) - Sera Disapproves; Cole Approves
- What happens now? (successfully reconcile Celene and Briala.) - Dorian Slightly Approves
- This is an achievement.
- If unsuccessful, Briala is pardoned and exiled.
- Briala helped stop Florianne. (Use the evidence gathered about Gaspard to support Briala.) -
Public truce (PT)
All three of them can be blackmailed and forced into a public truce:
- All of you were at fault. (Try to force the three leaders into a truce.) - Solas Approves
- Celene: You made your point.
- Work together for Orlais. - Cole Greatly Approves; Sera Slightly Approves; Blackwall Slightly Approves; Cassandra Slightly Disapproves
- You've been outplayed. - Blackwall Slightly Approves; Sera Approves; Cassandra Slightly Disapproves
- You work for me now. - Sera Approves Cole Greatly Disapproves Cassandra Slightly Disapproves
- You've been outplayed. -
Gaspard rules alone (GRA)

Emperor Gaspard addresses the court.
Gaspard can become emperor and rule alone:
- Gaspard will be emperor. (Use the blackmail material to discredit Briala and support Gaspard.) - Iron Bull Greatly Approves
- Gaspard will be emperor. (Use the blackmail material to discredit Briala and support Gaspard.) -
Gaspard and Briala rule (GBR)
Gaspard can become emperor, with Briala pulling the strings from the shadows.
- Briala can take over. (Use blackmail material to put Briala in power.) - Solas Approves
- Briala can take over. (Use blackmail material to put Briala in power.) -
Denouement
After all that is done with, a final scene in the ballroom will begin and more party approval changes will occur. Yet another scene plays as Morrigan informs the Inquisitor that she has been named the Imperial liaison to the Inquisition.
If a love interest was brought to the Winter Palace, they will come out to talk with the Inquisitor. Choosing an option that will allow them to dance with the Inquisitor will result in approval. Otherwise, Josephine will come out to talk.
The scene then moves to Skyhold, and Leliana and Cassandra's future is discussed, after which the quest completes.
Companion Approval
Celene rules alone - ![]() Cole Greatly Disapproves
Cole Greatly Disapproves
Celene rules with Briala supporting - ![]() Cassandra, Cole and Dorian Greatly Approve
Cassandra, Cole and Dorian Greatly Approve
All 3 forced to work together - ![]() Cassandra Slightly Disapproves;
Cassandra Slightly Disapproves; ![]() Cole Greatly Approves
Cole Greatly Approves
Gaspard rules alone - ![]() Blackwall and Cole Greatly Disapprove;
Blackwall and Cole Greatly Disapprove; ![]() Dorian Disapproves;
Dorian Disapproves; ![]() Sera Slightly Approves;
Sera Slightly Approves; ![]() Cassandra Greatly Approves
Cassandra Greatly Approves
Gaspard rules, Briala in power - ![]() Cassandra Greatly Disapproves;
Cassandra Greatly Disapproves; ![]() Sera Slightly Disapproves;
Sera Slightly Disapproves; ![]() Dorian Slightly Approves,
Dorian Slightly Approves, ![]() Solas Approves
Solas Approves
Rewards
Awarded upon quest completion:
- 9875 XP, 3200 Influence, Power: +4
- Formal attire schematic
- Mask of the Grand Duchess and Mask of Chalons (if Florianne was publicly shamed at court)
None of the masks listed below are rewarded if Celene, Gaspard and Briala were forced into a truce, otherwise:
- Mask of the Empress (if Celene rules alone)
- Mask of Valmont (if Celene lived)
- Coquin Mask (if Celene and Briala reconciled OR if Briala in power)
- Traditional Chalons Mask and Mask of the Grand Duke (if Gaspard rules alone)
- Ambassador's Mask (if Briala in power)
Items that can ALWAYS be found during the quest:
- Confusion Grenade recipe and Masterwork Magister Staff Blade schematic (secret study in Grand Library)
- Crescent Slicer (Rare Dagger, Lv 10 req) (dropped as loot by Harlequin in Grand Apartments)
- Amulet of Power for Vivienne and Masterwork Crow Blade schematic (empress' vault in the Grand Apartments)
- Lightning Rune and Enhanced Cooldown Amulet (left and right Lower Royal Wing Door, respectively)
- The Trepanner's Requital (Unique Bow, Lv 10 req) (dropped as loot by the Grand Duchess)
Results
- Stability is brought to Orlais as the civil war is ended
- Grand Duchess Florianne or her remains will be judged
- Morrigan is named Imperial Liaison to the Inquisition and moves to Skyhold
- The operation A Favor Returned becomes available if Celene rules alone
- The operation A Gift from the Imperial Palace becomes available if Celene and Briala reconciled
- The operation An Invitation from the Emperor becomes available if Gaspard rules alone
- The operation A Whisper from Behind the Throne becomes available if Briala is in power
Side quests
The following are never listed in the journal:
- Montbelliard's Ring - 128 XP, 80 Influence
- Even Gilded Walls Have Ears - 128 XP, 80 Influence
- Unlock the Eastern Storage - 128 XP, 80 Influence
- Social Leverage - 370 XP, 160 Influence (only if all 30 secrets returned to Leliana)
- Caprice Coin Toss - 200 Influence (only if all 15 tossed)
- Open the Lower Garden Door - 128 XP, 80 Influence
- Behind Every Empress - no reward
- Find a Missing Key - no reward
- Gaspard's Clandestine Meeting - no reward
- Open the Upper Royal Wing Door - no reward
- Choose a Lower Royal Wing Door - no reward
The following are listed in the journal under The Winter Palace:
Approval
Sera in the Grand Ballroom.
When asked "How are you fitting in?":
- If the Inquisitors Court Approval is 60 or lower - Sera Slightly Approves
- If the Inquisitors Court Approval is 61 or higher - Sera Slightly Disapproves
- If the Inquisitors Court Approval is 60 or lower -
Dorian in the Guest garden.
- "Thank you for coming." - Dorian Slightly Approves
- "Thank you for coming." -
Trivia
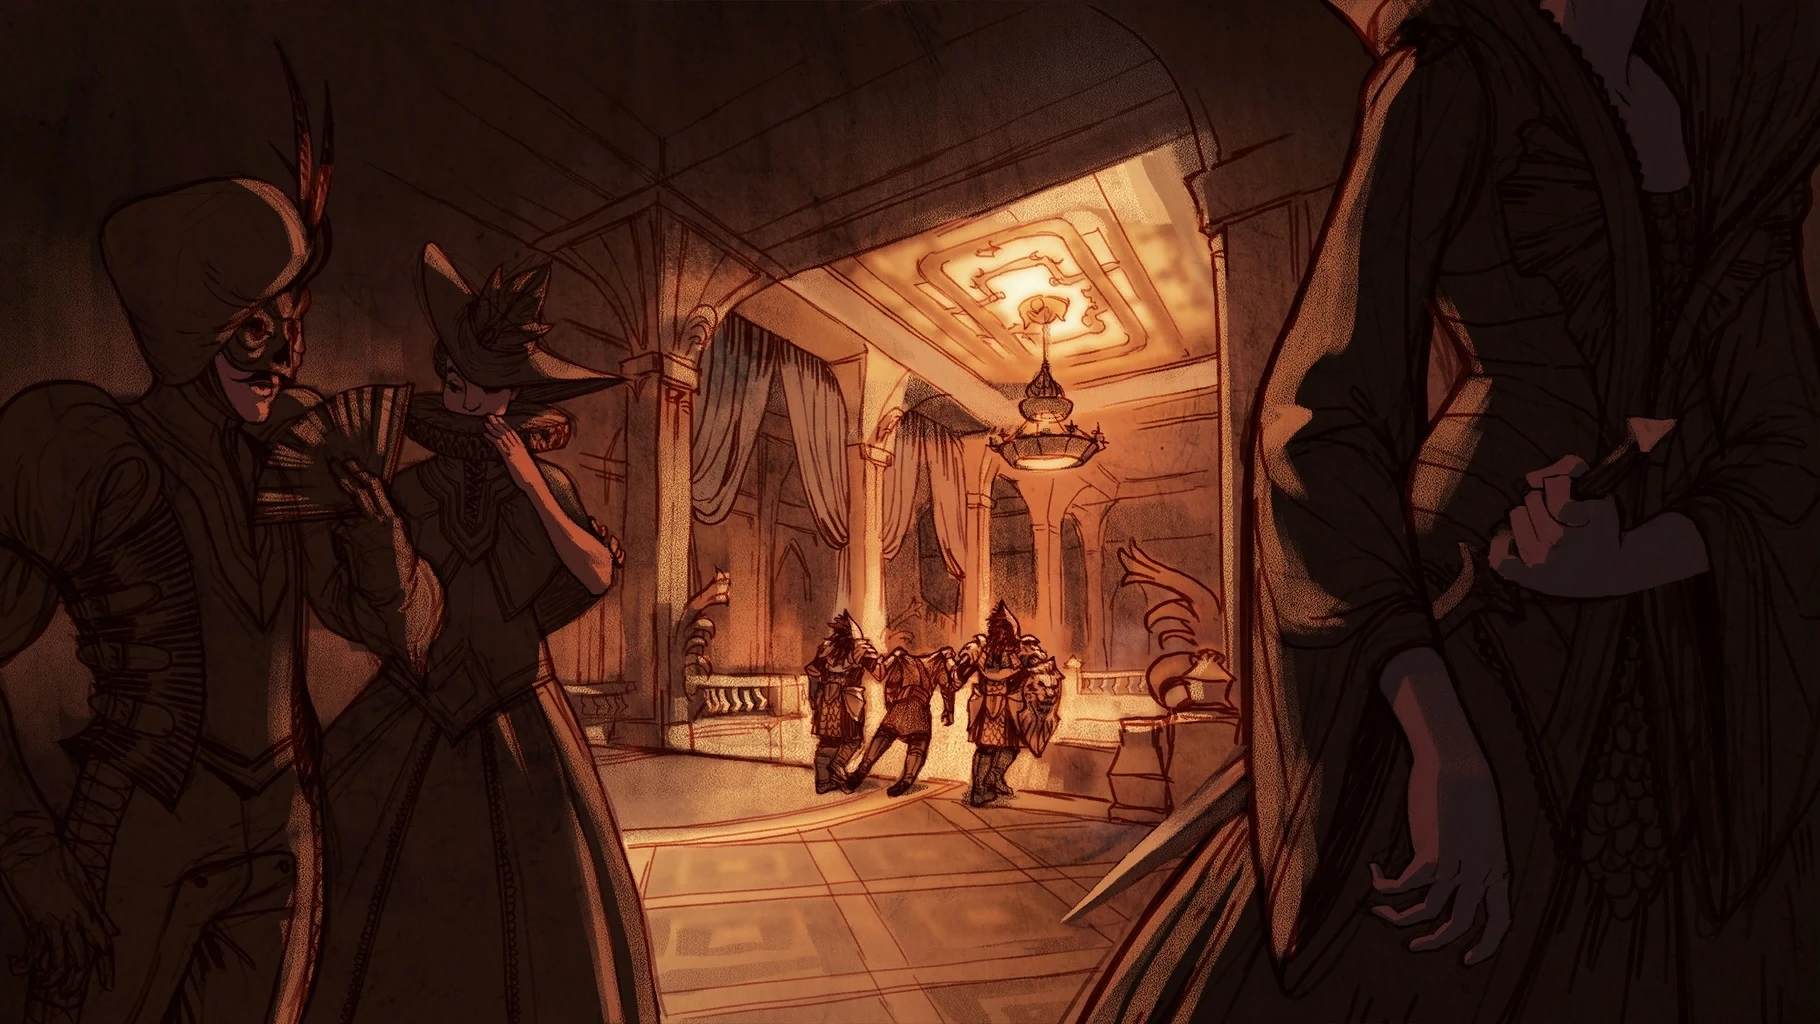
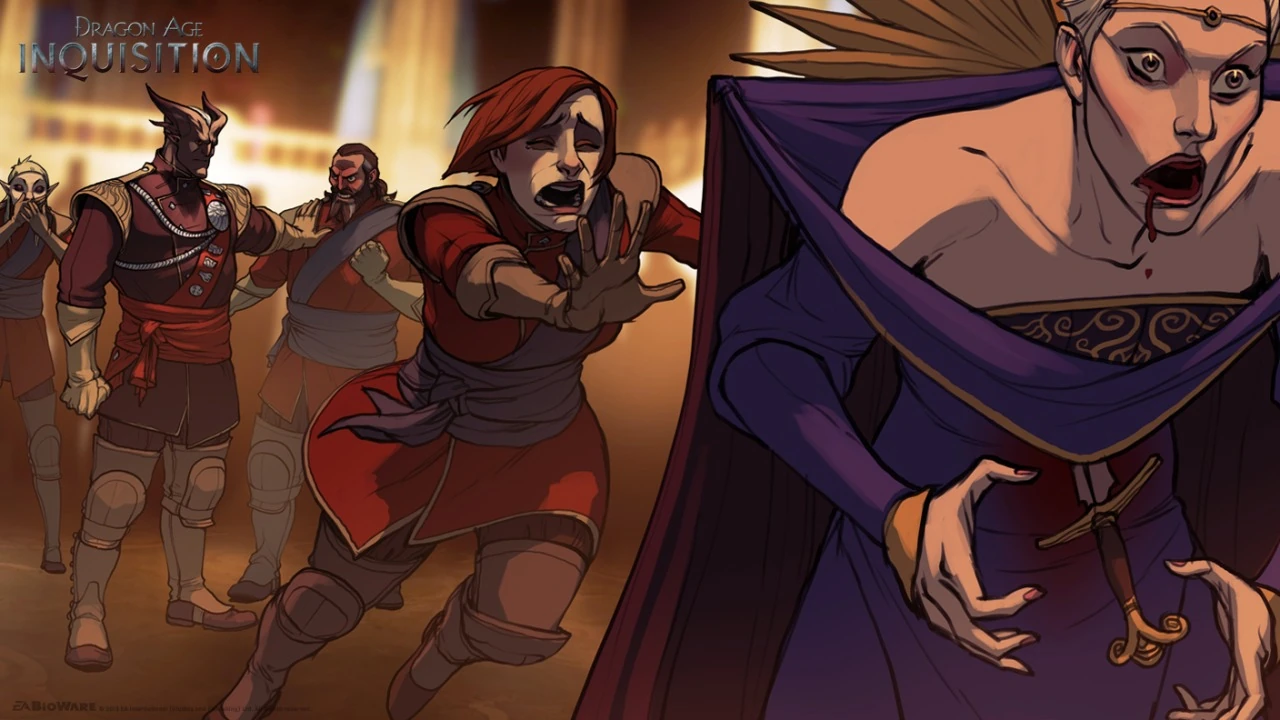
Wicked Eyes and Wicked Hearts quest concept
- Most of the quest names in the main plot refer to specific verses of Chant of Light. "Wicked eyes and wicked hearts" refers to the Canticle of Silence 3:6.
- After the announcements and speaking to Celene for the first time, the Inquisitor bows. Leliana can be seen down the stairs with Cullen and Josephine ( If you wait out and don't rush into cutscene, you'll see them approaching after you, in the actual cutscene you can see Leliana coming right beside the Inquisitor ). When the Inquisitor turns to the left to leave, Leliana has miraculously appeared at the top of the steps.
- If Blackwall is brought for the quest, he is announced at court to have been awarded the Silverite Wings of Valor. When questioned about it, he is evasive about how and when he received the award.
- If Blackwall is brought for the quest, he will be found conversing with a noble who thinks he recognizes Blackwall from a Lord Rudalt de Lancre's company of soldiers.
- If Cole is brought on the mission, he is not announced at court, even if he is made more human.
- If Solas is brought on the mission, he is announced as "Lady/Lord Inquisitor's Elven Serving man, Solas"
- Cullen is announced at court as the former Knight-Commander of Kirkwall.
- There are three dwarves in the Vestibule who mention House Helmi is trying to mount an expedition to Amgarrak, but House Dace are blocking any expedition into the thaig.
- If the Hero of Ferelden is a Dwarf, the same three dwarfs are wondering about the disappearance of Paragon Brosca/Aeducan
- There is a head of a Krogan in the trophy room. This is a reference to the game Mass Effect.
- In the Fumeur section, one of the nobles is trying to figure out classic puzzles such as, Knights and Knaves, The Tower of Hanoi, Fox, Goose, Beans and the Riddle of the Sphinx.
Bugs
- After completing the quest, even if the player chose to have all 3 parties work together, Leliana may comment that Celene is "rooting out the last of Gaspard's supporters" when asked for any updates at Skyhold.
- Be careful when moving between the Vestibule and the Grand Ballroom as it is possible for the door's destination to change to the room you're already in if you get too close, causing the game to never leave the loading screen (it will actually eventually load, but the times can be ridiculous 10-15 minutes at most). The same problem exists with the door between the Vestibule and the Royal Wing.
- If the player uses necromancy in the Harlequin fight, the cut-scene required for progression may not trigger.
- The work-around is to enable friendly fire (settings -> gameplay -> friendly fire) and AOE any of the raised opponents to death.
- Or, use Spirit Mark spell again to instantly kill all raised spirits.
- While in the Ballroom after being introduced to Celene, if the player asks Vivienne if there is anything to look out for, she will comment on Cole behaving even more strangely than usual, even if Cole is not in the party.
- When coming and going from the vestibule and ballroom, the door may be labeled as both "Vestibule" and "Grand Ballroom." Rotate the camera and the position of the Inquisitor to get the correct label to appear. If entering the door when labeled as the same room you're in, the game will take a long time loading, and you'll reappear in the same room.
Codex entries
![]() Codex entry: Halamshiral
Codex entry: Halamshiral
![]() Codex entry: Grand Duke Gaspard de Chalons
Codex entry: Grand Duke Gaspard de Chalons
![]() Codex entry: Winter Palace
Codex entry: Winter Palace
![]() Codex entry: Orlesian Caprice Coins
Codex entry: Orlesian Caprice Coins
![]() Codex entry: Superstitions of the Royal Family
Codex entry: Superstitions of the Royal Family
![]() Codex entry: Empress Celene Valmont
Codex entry: Empress Celene Valmont
![]() Codex entry: A Compendium of Orlesian Theater
Codex entry: A Compendium of Orlesian Theater
![]() Codex entry: A Ghoulish Delight
Codex entry: A Ghoulish Delight
![]() Codex entry: Morrigan
Codex entry: Morrigan
![]() Codex entry: The Lion of Orlais
Codex entry: The Lion of Orlais
![]() Codex entry: Jeshavis, Mother of Orlais
Codex entry: Jeshavis, Mother of Orlais
![]() Codex entry: Mad Emperor Reville
Codex entry: Mad Emperor Reville
![]() Codex entry: Briala
Codex entry: Briala
![]() Codex entry: Grand Duchess Florianne de Chalons
Codex entry: Grand Duchess Florianne de Chalons
![]() Codex entry: Wicked Eyes and Wicked Hearts
Codex entry: Wicked Eyes and Wicked Hearts