Unrest in the Alienage is the final required quest before calling The Landsmeet. It begins when The Warden talks with Anora and Arl Eamon after completing the Rescue the Queen.
Background
After rescuing the queen from Howe, Anora informs The Warden that there has something is wrong in The Alienage. She believes that Loghain is behind it and she expects The Warden to find proof in order to erode Loghain's support in the Landsmeet.
Walkthrough
There are several basic steps to complete the quest. Take advantage of the easy side-quests along the way.
- Enter the Alienage; look for clues.
- Investigate the Hospice
- Search the Apartments
- Run down the source in the Warehouse
Plague in the Alienage
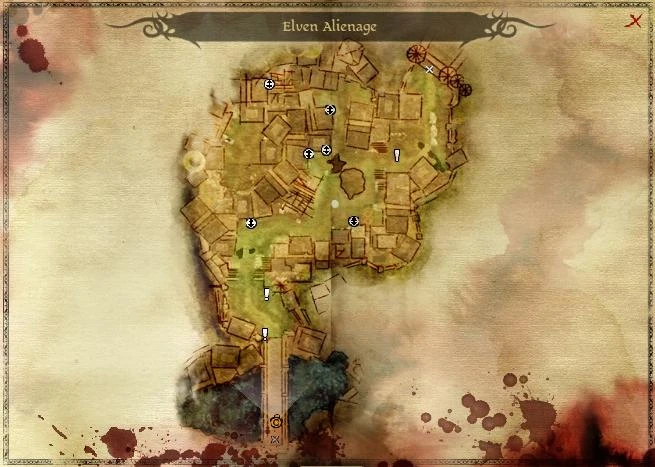
With the gates unbarred, you can now reach the Denerim alienage from the Market District. In the slums, the elves are suffering from an apparently blight-related sickness. Those identified as ill are quarantined at a Hospice by members of the Tevinter Imperium. However, it turns out that none of the sick have been seen and many elves, led by Shianni, are questioning the Tevinter healers, Veras and Saritor.
- Speak with Shianni to get the basic background: Elder Valendrian and Cyrion are missing, as well as a number of other residents. Shianni will eventually tell you about a possible back entrance.
- Optional: you can learn a bit more from a nearby vendor, Alarith.
- You have four choices for getting to the bottom of things:
- Aggravate the healers and guards outside the main entrance until they attack, then enter through the front. (This can risk the lives of bystander elves.)
- Enter the hospice through the back by bribing (6
 ) the guard or killing him.
 - Pick the lock of the Run-Down Apartments, skipping the hospice.
- Pretend to be sick, if The Warden is an elf. (This requires leaving the companions outside and a solo fight inside.)
Regardless of methods, you will end up killing approximately the same number of foes; feel free to use the technique most suited to your character.
Tevinter Hospice
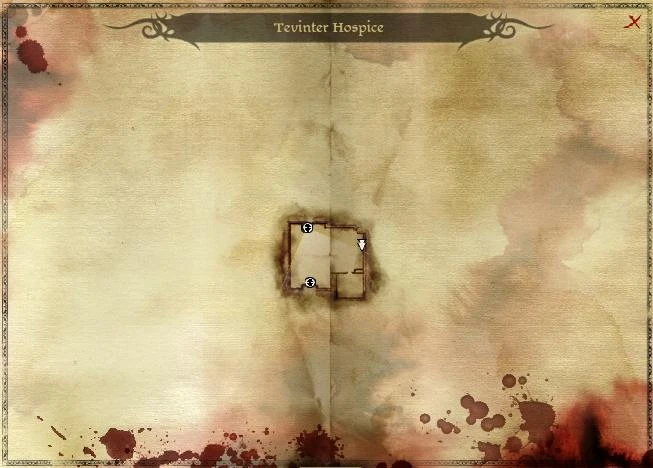
The Tevinter Hospice in The Denerim Alienage
After killing the guards in the hospice, you can free a group of elves from the back room, where they are being held in cages. On the desk is a key wrapped inside a note. (You can loot a crate, chest, and a pile of coins, too.) Exit the building and battle with Veras and Saritor (if you have not already dealt with them); their corpses will have two sets of mage armor, Enchanter level and lesser robes. After the battle, Shianni will suggest that the Tevinters might be using another one of the buildings, so head for the alleys behind the hospice.
Run-Down Apartments

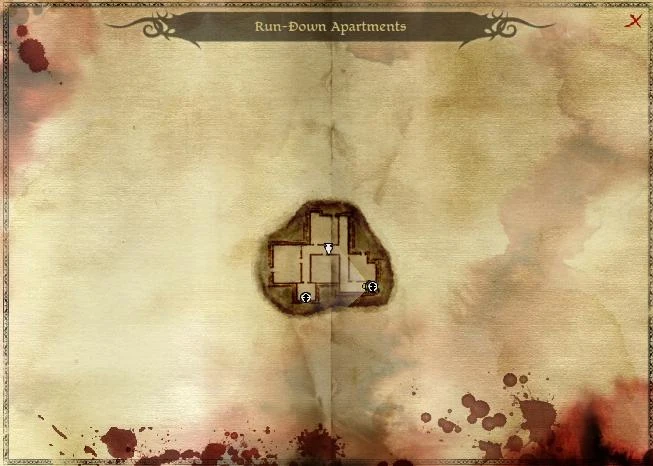
The Run-Down Apartments in The Denerim Alienage
Enter the Run-Down Apartments (in the far north-west of the district) using the key found in the hospice. Investigate the evidence that elves were hustled away quickly. You can question on of the remaining elves about what has happened (intimidate, persuade for 2![]() , or simply wear him down to get the info). When ready, exit through the south-west door to the central area of the slums. The Alley Guard will sound the alarm, bringing five more Tevinter Soldiers; half will close for melee and the others will use ranged attacks. Kill them and proceed to the warehouse.
, or simply wear him down to get the info). When ready, exit through the south-west door to the central area of the slums. The Alley Guard will sound the alarm, bringing five more Tevinter Soldiers; half will close for melee and the others will use ranged attacks. Kill them and proceed to the warehouse.
Other items of interest:
- A chest (north-center room) has the Free Sailor Sextant for Fazzil's Request from the Chanters.
- Pick the east-side locked room, kill the Elf and 3 Tevinters to find Codex Entry: The City Elves.
Tevinter Warehouse

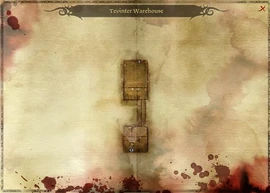
The Tevinter Warehouse in The Denerim Alienage
Caladrius, the leader of the Tevinter slavers


Devera aims the Bow of the Golden Sun
After entering the Tevinter Warehouse, you will be met by Devera, a Tevinter elf involved in the slave trade. Regardless of how you deal with her, you will end up meeting with the boss slaver, Caladrius in the northern room. If patient, you can learn something about how the slavers have been operating; in particular, Caldadrius will confirm Loghain's tacit involvement in their schemes. There are a number of ways of handling the next series of events:
- Devera
- Bluff her into taking you to Caladrius, avoiding some of the interim fights.
- Confront her, forcing a fight in which she is backed up by 8 soldiers.
- Intimidate her into leaving with her guards, leaving you to mop up a group about half the size. (There are also a number of traps in the room.)
- Caladrius
- Refuse to parley and attack.
- Allow him to make an offer to pay him 100
 , allow him to leave with his slaves, and get the evidence confirming Loghain's involvement.
- Accept the offer, ending discussion.
- Refuse the offer, leading to battle.
- Counter-offer, intimidating him into leaving documents, profits, but allowing him to escape with his slaves.
- Counter-offer, persuading him into leaving the documents (at no cost to you); this also allows him to take the remaining slaves.
- Battling Caladrius
- Main article: Calaldrius
Unless you got rid of her earlier, Devera will join in this fight; she will be the only foe in melee range of the party. Caladrius' troops are in the other half of the room, down a half-flight of stairs. The boss himself usually starts the battle casting Blizzard or Inferno, so it helps to get some distance. Few of his troops will follow you, although they have some deadly ranged attacks. An easy technique is to run into the corridor behind you and defend from there.
When Caladrius is down to a few points of health, he will offer to surrender. He will make another offer:
- Kill him.
- Allow him to turn over the documents.
- Allow him to surrender and accept his offer of a Constitution +1 boost; this kills all remaining elven slaves.
- Other notable events
- Caladrius recognizes The Warden by reputation. He also has a few words for Alistair, if the king's heir is in the party.
- Notable items
- Devera drops Bow of the Golden Sun, which unlocks its codex entry.
- Caldrius drops Robes of the Magister Lords
- In various rooms, you can find: a weapon stand, some crates, a cabinet, a vase, various traps, and locked chests. The number of guards will depend on how you handled the slavers.
Result
- The quest updates to indicate the documents are in The Warden's possession; it remains incomplete until the Landsmeet.
- Arl Eamon will be ready to discuss next steps and Alistair will be forced into the party, in order to confront Loghain at the Landsmeet.
- If Warden refused Caladrius' Blood Ritual
- City Elf Wardens can return to their home, where Cyrion will give them a dagger that belonged to their mother.
Other Wardens can speak with Valendrian, who gives them the Gift of the Grey dagger that was wielded by Duncan. - The party can trade with Alarith; he has a Tome of Skill and Sundry.
- If the Warden accepts the Blood Ritual
- Most companions disapprove.
- Alarith will not trade.
- Approvals
The companions generally disapprove of slave trading. The following table lists how each responds to allowing Caladrius to escape with the elves in captivity:
| Companion | Caldrius escapes with slaves | Blood Ritual Accepted | Blood Ritual Not Accepted |
|---|---|---|---|
| Alistair | -10 | ||
| Leliana | -15 | ||
| Morrigan | +4 | -5 | |
| Sten | +4 | ||
| Wynne | -40 (-3 for even considering it) | ||
| Zevran | -20 (-8 if persuaded) |