The Descent is the main quest in the The Descent DLC for Dragon Age: Inquisition.
Earthquakes in the Deep Roads are threatening to collapse lyrium mines and cut off supply of the essential mineral to the surface.
Acquisition
Complete Disaster in the Deep Roads by traveling to the Storm Coast Fissure.
Objectives
- Speak with Harding at the Storm Coast Fissure
- Reach the seal
- Defend the seal
- Establish an Inquisition camp
- Take the lift into the Deep Roads
- Navigate the Darkspawn Warrens
- Open the Rune-Warded Gate of Segrummar
- Navigate the Darkspawn Warrens
- Follow Valta through the Darkspawn Warrens
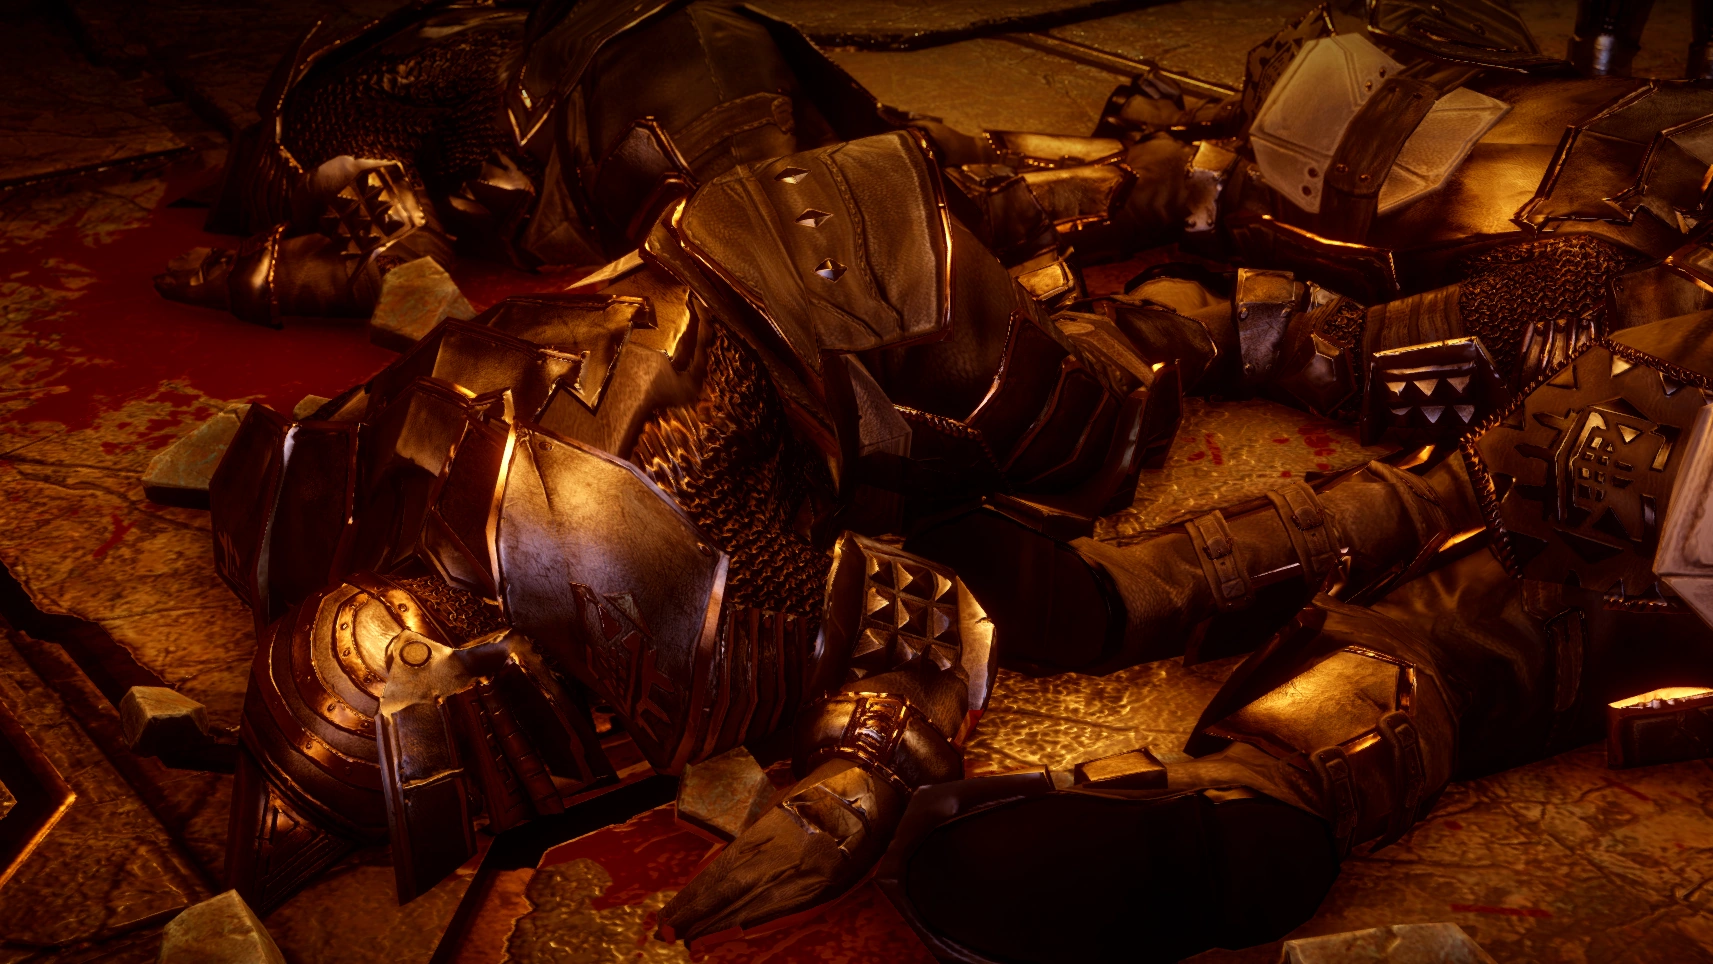
- Investigate corpses
- Descend into the Ruins of Heidrun Thaig
- Follow Valta through Heidrun Thaig
- Push the Darkspawn out of their nest
- Follow Valta
- Establish a camp at the Ancient Lift
- Use the ancient Lift
- Explore the Forgotten Caverns
- Defeat the Unknown Assailants
- Speak with Lieutenant Renn
- Follow Valta through the Forgotten Caverns
- Fight through the Sha-Brytol
- Follow Valta into the Unknown
- Approach the Sha-Brytol Shrine
- Defeat The Guardian
- Speak with Valta
Walkthrough
Storm Coast Fissure
After speaking with Lead Scout Harding, take the elevator down into the Fissure proper, where the Inquisitor will be greeted by Shaper Valta, whom can be questioned about the situation. After this Valta will join the party as a Temporary Companion. Head north through the fissure, claiming the Landmark on the left along the way. At the entrance to the Deep Roads, the quest A Warm Welcome will activate as an Ogre alpha charges the party. See that quest guide for details.
After the Ogre Alpha has been dealt with, loot the remains and head into the Deep Roads then take a right to find the Legion of the Dead regiment. Renn and the Legionnaires will assist the party in this battle. The Inquisitor must defend the seal for the tunnel from the horde of encroaching Darkspawn until the seal gauge is filled. The first wave of Darkspawn consist of 4 Genlocks which will attack at melee range, a Hurlock which uses sword and shield and two Hurlock archers. Throughout this battle area of effect attacks, particularly Mark of the Rift can be useful to regain control of the field if the darkspawn are about to overrun the defenders. Darkspawn will continue to spawn from a side tunnel on the left and the main tunnel seal entrance. Bringing a mage or two with Barrier will be a great help here both for keeping the party alive but also the legionnaires which help even the number of combatants and divide the darkspawn's attention. Pull of the Abyss can also be useful here for helping keep the darkspawn in a vulernable position.

Detonating the lyrium charges
Once the seal gauge gets to about 40%, additional Hurlocks and Hurloch archers will approach from the back right of the tunnel. At about 50-60% a Hurlock alpha will approach from the main seal entrance. Make the Hurlock Alpha a priority target and focus your attacks on it until it falls, as it will otherwise swiftly knock down most of the party. A second Hurlock Alpha will follow not long after. Once they are slain, this should bring the seal gauge to 100%. Activate both of the Lyrium charges by the door to seal the tunnel. After this withdraw to the main chamber and take cover, picking up any loot the darkspawn dropped on the way out as this sub-tunnel will be blocked off by the explosion afterwards. Establish the camp using the marker in the north east section of the chamber to advance.
After speaking with Renn and Valta, Renn will join as a temporary companion. Various crafting facilities are now available at this camp as well as the Expedition table. Once everything has been taken from the area, head through the north-west door and take the elevator down to continue the quest.
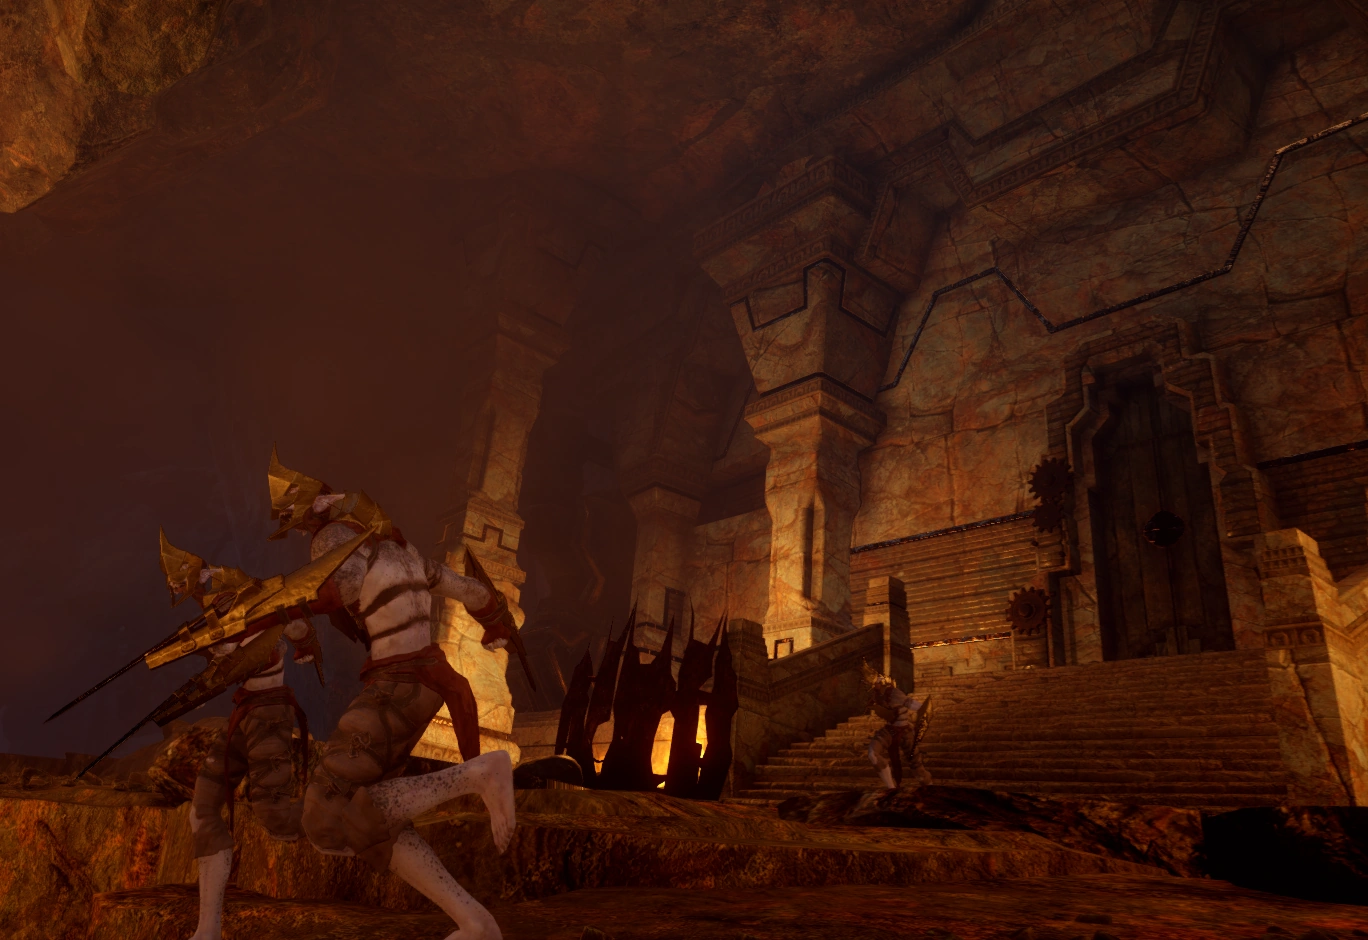
Darkspawn Warrens
From the elevator, head through the corridor out onto the main road, a trio of Shrieks and two hurlock archers will attack from the north. Shrieks can use stealth to ambush companions and attack extremely quickly so be wary. Abilities such as War Cry can be useful for keeping Shrieks focused on heavily armoured characters who withstand the damage. After disposing of the darkspawn, open the barrier door at the end of the hall and advance into down the corridor. The Rune-Warded Gate at the bottom of the stairs blocks the way forward and several of the gears for the mechanism are missing and so must be recovered. Fortunately the gear is conveniently placed just to the right of the gate. Attach the gear and open the gate.
Continue down the hallway to reach a chamber with a large statue of a Paragon in the center. A Hurlock waits with its back to the door while two hurlock archers, another hurlock and a hurlock alpha patrol the opposite side of the chamber. The hurlock by the entrance can be easily ambushed and disposed of quickly. After this, diverting the hurlock alpha and melee hurlock with one companion while disposing of the archers before regrouping to dispose of the last two darkspawn can help secure the chamber quickly and easily.
Continue past the cave in and take the door on the left to reach a large stairwell guarded by a pair of Genlock Alpha. Genlock Alpha rely on their large tower shields for both defense and attack, using a knockback to stun and damage the party while also using throwing axes to attack from afar. Fighting both Alphas at once can be challenging, so luring one Alpha away using War Cry can help mitigate this. Using one companion to draw the Genlock Alpha's attention, while the other companions attack from behind can be an effective way to by-pass the shield. After securing the stairwell, advance through the far door.
The Dead Legionnaires
Five Corrupted spiders will emerge from the shadows and attack from around the corner. Use the same tactics for them as with usual spider enemies. Through the door at the end of corridor, is the entrance to a large balconey which overlooks Heidrun Thaig. The open area allows for ease of movement however there are also a considerable number of darkspawn here. An Ogre will attack from the center of the platform while two Hurlock Archers will attack from range on the right side of the platform. The ogre can be dealt with using the same tactics as the Ogre Alpha from earlier, however it has less health and defense.
After the battle begins, Genlocks will continually join the battle from the north eastern exit until the Ogre falls, so be aware of darkspawn re-enforcements.
Once the platform is secure, examine the corpses of the dead Legionnaires and then head along the north-east walkway to find the elevator down into Heidrun Thaig. There is a Supply Cache by the elevator to restock potions.
Ruins of Heidrun Thaig
Another Supply Cache can be found at the far end of the walkway directly north of where the elevator disembarks. Head directly ahead and take the door on the right to enter an auditorium. Upon entry, several Corpses and corpse archers will rise out of the water to attack. Once the corpses are disposed of, take the center hallway to access the nearby cavern. Take the left cave to come around on the opposite side of the Auditorium. A trio of Hurlock warriors and a Hurlock archer are on guard at the cavern mouth. After this, climb down the slope and continue straight ahead to reach a second auditorium. Four Shrieks and an Emissary are occupying the auditorium. The same tactics will work for the shrieks, however a large amount of rubble clutters this auditorium which can make maneuvering difficult. Luring the darkspawn to the entrance can help make this fight easier. Dispose of the emissary first to prevent it from casting barrier to support the shrieks. Head straight ahead and follow the road forward, taking the collapsed path down to the far end and turning right. Four Hurlock Archers are lurking at the doorway on the far left. Advance close to them quickly to eliminate their advantage of range. Once they're dealt with, prepare to head through the door behind them. Several scorched ancient gears are needed to open door however do not open the door until the whole party is at full health and are properly equipped for an extremely lengthy battle, because beyond the next door, lies the main Darkspawn nest.
Opening the door will draw the attention of the darkspawn immediately and waves of darkspawn will swarm the party. The intial wave consists of shrieks. The Shrieks will charge from the tunnel to the right and from directly ahead of the door. Roughly 10 Shrieks will charge in the first wave. Once the Shrieks are defeated the next wave consists of Hurlocks. Take a sharp left from the entrance and head out onto the cliffside. Two Hurlock Alphas are waiting by the pillars and lead the wave. There is also a Supply Cache just to the left of the Alphas. Several hurlock warriors just behind them will come to assist. There are two rocky outcroppings behind them, one on each side of the walkway forward. Multiple Hurlock Archers will fire arrows from up here, however by sticking close to the pillars when engaging the Hurlocks, it is possible to avoid drawing the attention of all of the archers. Once the Hurlocks are dealt with, make sure you clear out any remaining Hurlock archers on the outcroppings before advancing down the walkway.
Crossing the walkway will draw the attention of a swarm of Genlocks, led by a pair of Genlock Alphas. An Emissary will also join the fray after a short time. The walkway can be a dangerous place for this battle as there is little room to move and falling off will deplete a character's health entirely. Falling back to the rocky cliffside where the hurlocks were fought can make it easier to move. A second Emissary will also eventually come to assist so be wary of re-enforcements.
The Darkspawn Nest
On the far side of the walkway, head through the central doorway into the two room chamber. This passage is guarded by a pair of Ogres. Dealing with two Ogres at once can be exceedingly difficulty due to their grab disabling whichever companion they pick up. Drawing the attention of one ogre as a diversion and leading it away from the other while the rest of the party kill the other Ogre can resolve this. Genlocks will slowly but continually join the battle from the small tunnels on the side of the chamber. An Emissary may come to assist the Ogres during the battle. There is also a Supply Cache in the middle of the chamber, just to the left of the door to the back room.
Once the Ogres are finally slain, the most powerful darkspawn of the swarm in the Thaig, an Emissary alpha, so ensure that the last surviving Ogre is the only darkspawn stronger than a Genlock before killing it.
Emissary Alphas attack similarly to standard Emissaries however they have several additional spells. The most dangerous of which is a glowing red orb which will appear over one targeted companions head. After a small amount of time, the orb will detonate causing massive damage to any party members in the vicinity. The best way to deal with this, is to take control of the afflicted companion and move them away from the rest of the party. Once slain, the Emissary Alpha will drop Isana's Song and a Superb Ring of Barrier Penetration. Head through the far door at the end of the chamber and set up a new camp for the Legion of the Dead. Once the camp is set up, re-stock as necessary and take the elevator down.