“The archdemon has shown itself. The dragon is at the head of the horde.” ―Riordan
The Battle of Denerim is the final quest line in Dragon Age: Origins.
Redcliffe Revisited
After the Landsmeet finishes, The Warden must return to Redcliffe to face the Darkspawn attack. When the Warden arrives in Redcliffe, the village is already overrun and the castle is under siege. The Warden must help the garrison fight off the Darkspawn including an Ogre. A large number of Hurlocks have gathered, and at the end of the assault an Ogre Alpha attacks. The Ogre Alpha can and will destroy any remaining guards and unprotected Archer or Mage companions if not slain.
Once the Darkspawn have been defeated, The Warden may approach the Redcliffe officer to enter the castle and speak with Arl Eamon who will explain that the main body of the Darkspawn horde has started marching to Denerim. The Warden and the Arl must gather the troops and march to meet the horde. The Warden may speak to Eamon again after his speech and may also speak with his bodyguards about the upcoming battle.
Afterwards, there is an opportunity to barter with the camp merchants before heading upstairs to talk to Riordan. After speaking to Riordan, return to The Warden's room to find Morrigan who requires an important decision be made (see Morrigan's Ritual for more information). Regardless of the choice made, Morrigan will leave the party either now or at the end of the final battle. By accepting Morrigan's offer, you will unlock the "A Dark Promise" achievement after completing the final battle.
Denerim City Gates
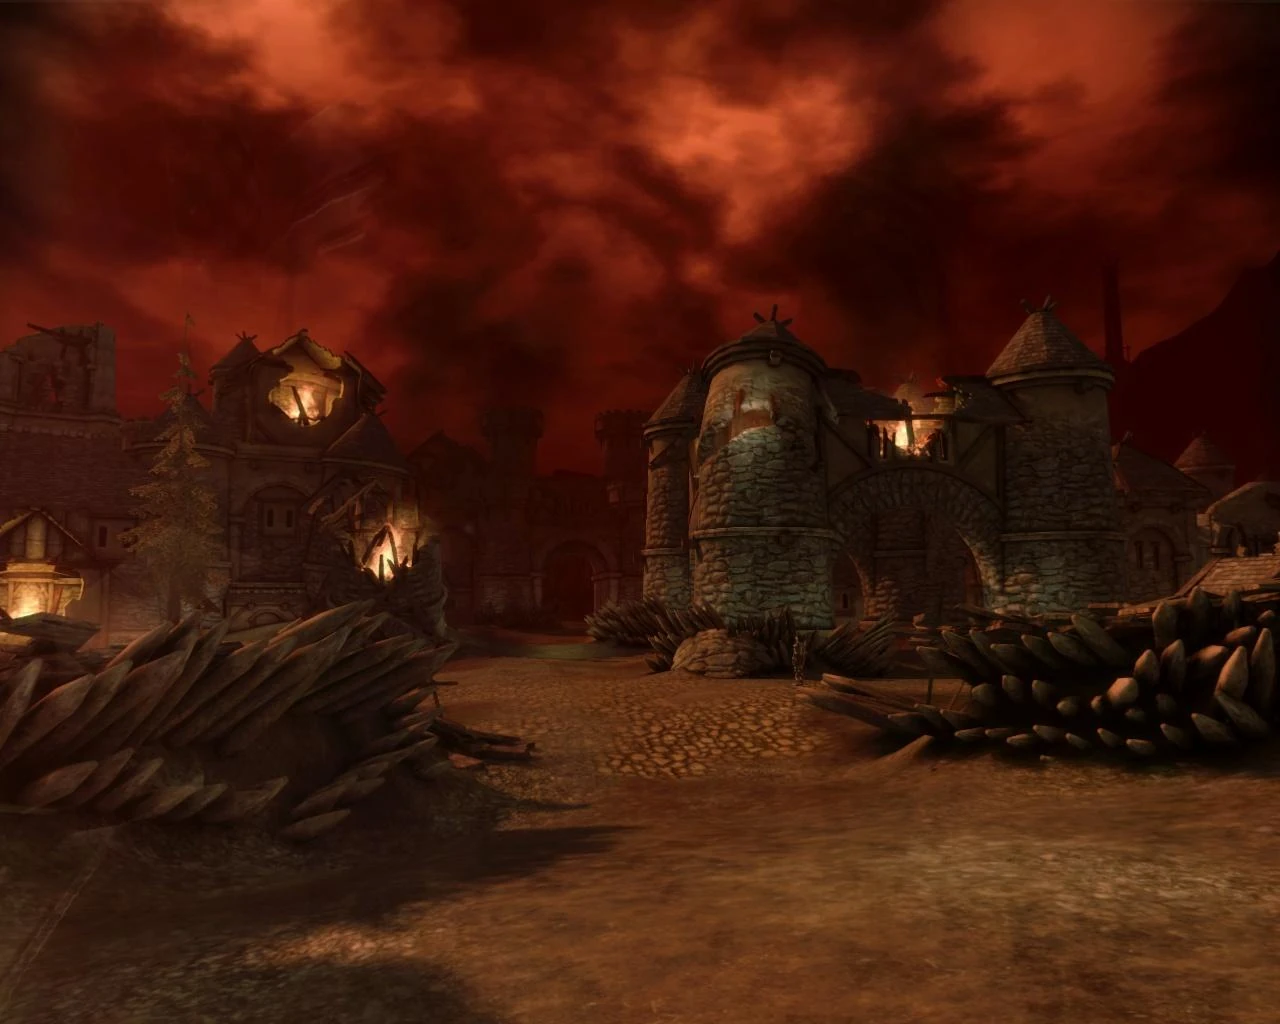
Denerim City Gates
After the armies of Ferelden push through the gates and into the city of Denerim, the Darkspawn will start putting up a firm defense to halt any advances - seemingly knowing that they have Ferelden outnumbered. At this early stage you will come across group upon group of Darkspawn Grunts and a couple of Alphas which pose no real threat as everyone you have collected (party) will be involved in the battle alongside Human soldiers and Riordan. After you clear out the waves of Darkspawn in the area talk to Riordan who will advise you to take Alistair (or Loghain) and two other party members with you, he will also tell you about the Darkspawn Generals and where he is planning to lure the Archdemon - specifically Fort Drakon. After forming your party, you will then choose the commander to lead the forces at the gates. Once that is settled, you will have a chance to watch a very touching moment with the party members as they wish you luck among other things. Now make your run down the street with the cheering of soldiers along the way.
- Equip the best equipment you have on your party members, it's going to help.
- It is not actually required that you bring Alistair or Loghain with you, Riordan just advises it.
There will be another side quest later, after you complete the Alienage quest as you are making your way to Fort Drakon. The Companions you have left behind will be asked to defend the City gates from another series of waves of Darkspawn. Morrigan will still be with the party for this fight, if you had not taken her with you against the archdemon (the epilogue will reveal that she vanishes immediately afterwards). The quest is rather straightforward and should pose no large threat to your companions, who can magically draw on your party inventory of potions, poisons, etc.. Make sure your inventory has enough healing potions for your "B party" to use, if Wynne or Morrigan with healing is not with them. If you have no companions other than the three you take with you to fight the Archdemon, you will skip this quest. There is no apparent impact on the story if this happens.
Denerim Market District
Upon entering the Market District you should make use of the armies at your command - particularly the Dwarves/Golems, Werewolves/Elves, or Mages/Templars at this point as they are all good for taking on the enemies in the area. MANY of the enemies here are Ogres, so keep potions, and allies closer. If you chose to keep the Anvil of the Void, then Golems are a good counter to the ogres. The enemies you will be facing are Ogres, Genlock Emissaries and one of the two Hurlock Generals (the melee one); there is a set limit of enemies that will spawn into the area at regular intervals from the other map exit up until the General is defeated.
Taking out the Hurlock General isn't a tough ordeal, just make sure to have dealt with any wave of enemies before taking him on so that you can have his undivided attention and the support of the armies. The general has Superiority, so his War Cry can knock down melee fighters engaging him. Simply hammer down on him and attempt to stun him whenever possible or be prepared to pop a few health pots every two hits or so - because he is a heavy hitter. After defeating the general loot him for some nice items (the helmet Corruption is among them) and then move on to the next area which will be The Alienage or the Palace District.
Denerim Alienage
The other Hurlock General is in this area, attacking a barricade that the Elves have erected. Once inside the Alienage, talk to Shianni, she will join the attack if successfully persuaded. If you are a City Elf, she will always help without need for persuasion, insisting even if told to run away. Dwarves are a good support team for this battle as despite having the entire Alienage to fight in, you will be in relatively close quarters when fighting the horde here. The Elves can also prove useful if your party is up to the task of holding the Darkspawn at the gate and within range of their arrows. Also, a mage can freeze the ogre and/or use spells such as fireball or blizzard to do area effect damage that will take out the grunts and injure the general. Taking out the ogre and the grunts also allows every unit to focus on the general once the gates are broken. If the ogre is killed too early (before the gate comes down), another one will come.
The Hurlock General has powerful magic, including a fire based spell that, if you're not careful, can kill your party members. He also will occasionally cast Glyphs of Repulsion around himself in order to knock back any melee characters. The best way to work around this is to attack him with ranged characters, preoccupying your melee characters with the other darkspawn until the barrier goes down. At that point, you can go after the General full force, but always be wary of his spells. The Templars are also quite effective against the magic wielding General.
Note: Having Morrigan in the party makes this area easy.
Note: die; it will remain at one health until the gates are down.
Once the area is clear, talk to Shianni again to complete the quest and receive a reward (Dawn ring). As the party heads over the bridge out of the Alienage, the Archdemon appears and destroys the bridge behind them. Exit the Alienage and head to the Palace District
Note: If you decide to skip the cut scene and press ESC too quickly it is possible to remain on the wrong side of the bridge with no way to exit and be forced to reload the last save.
Denerim Palace District
Upon arriving, begin making your way towards the palace. Darkspawn are positioned on both staircases, championed by Ogres. Fight through them, and once the battle is over, you can enter Fort Drakon. Mages are a good support at this stage in the Final Onslaught as they can keep their distance from the horde while still providing excellent support.
While trying to enter Fort Drakon, you encounter the stairs up, and several darkspawn. Each stair has a number of Genlock archers & one Ogre.
If you use the provided cover by sneaking under them close to the wall, you can blast them all with area spells undetected.
Fort Drakon - Entrance
The entrance to the fort is heavily guarded. There are several Hurlock archers behind barricades, along with two Hurlock Emissaries, two Genlock Alphas, and a few Shrieks near the front door. To make matters worse, a Dragon Thrall swoops in to attack you as you approach.
This can be a very difficult fight due to the tight quarters and numerous ranged attackers you face. Using a ranged army such as the Dalish or Mages can be very helpful in pressing the line.
Fort Drakon - Main Floor
Once you are inside the fort itself, you can no longer call armies to assist you. You will encounter more darkspawn in the halls.
In the large room with four ballistae, you will encounter the Genlock Conjurer and his summoned shades. He will regularly teleport around the room, so a good option is to dedicate a range attacker to fighting him and let everyone else deal with the shades he conjures, as the ranged attacker will automatically follow his movements without having to chase him around.
Next, you will encounter the Genlock Shapechanger and a Hurlock Emissary in the hallway at the end. They will be assisted by many corpses, but like the Darkspawn Grunts the undead have very little health.
Once you have dealt with the darkspawn on this level and are ready to advance upstairs, you will eventually come across Sandal...inexplicably surrounded by several dead darkspawn. If you ask what's happened he'll say "Enchantment" and take you to the enchantment screen. He is available to enchant weapons, as well as sell supplies to you one last time before you ascend further up the fort. Once you have finished shopping, head to the second floor.
Fort Drakon - Second Floor
The Second Floor is smaller than the first floor, but the enemies provide greater opposition. Work your way through until you encounter the Genlock Master Assassin and his acolytes. After you dispatch them, head south until you are confronted in a room by a Hurlock Emissary and two Ogres. Before you enter the room with the Emissary and Ogres, if you sidetrack at this corridor, then you will enter a room with a bunch of Genlocks along with a single Genlock Alpha. This room is a dead end, and might prove difficult to escape if your level is too low. Once the Emissary and Ogres are defeated, search the crates in the adjoining room for useful potions and supplies. When you are ready, ascend to the rooftop for the final battle.
Fort Drakon - Roof
The Archdemon Urthemiel waits for the Wardens on the roof of Fort Drakon, making quick work of the soldiers stationed there. You can once again call on your armies to assist you. Additionally, Arl Eamon and, depending on choices made during the game, First Enchanter Irving or Knight-Commander Greagoir, Swiftrunner or Zathrian, and/or Kardol will join you in the battle. Check the Archdemon strategy page for battle tactics.
After defeating the Archdemon, there are several ways the ending could play out.
If Morrigan's offer was accepted, the Warden will automatically make the killing blow.
If you did NOT accept Morrigan's offer, if you brought another Gray Warden with you (Alistair or Loghain), they will engage in dialogue with you before someone kills the Archdemon (Either you may insist on killing it or let THEM do it)
You can still import your character to Dragon Age: Origins - Awakening regardless of if you are the one who took the final stroke to slay the Archdemon.