m (→Strategy: clean up, typos fixed: Meanwhile → Meanwhile,) Tag: apiedit |
mNo edit summary Tag: Source edit |
||
| (12 intermediate revisions by 5 users not shown) | |||
| Line 1: | Line 1: | ||
<onlyinclude>{{CreatureTransformer |
<onlyinclude>{{CreatureTransformer |
||
| − | |style = {{{style|}}} |
+ | |style = {{{style|}}} |
| − | |name = [[Inferno golem]] |
+ | |name = [[Inferno golem]] |
| − | |image = Inferno Golem Prime.jpg |
+ | |image = Inferno Golem Prime.jpg |
| − | |px = |
+ | |px = 270x360px |
| ⚫ | |||
| ⚫ | |||
| − | |rank = [[Rank#Boss|Boss]] |
+ | |rank = [[Rank#Boss|Boss]] |
| + | |location = [[Kal'Hirol - Lower Reaches|Lower Reaches]], [[Kal'Hirol]] |
||
| ⚫ | |||
| − | | |
+ | |affiliation = [[Paragon]] [[Hirol]] <small>(formerly)</small> <br> [[The Lost]] |
| + | |skills = |
||
| ⚫ | |||
| + | |class = |
||
| ⚫ | |||
| + | |quests = [[Golem's Might]] |
||
| ⚫ | |||
}}</onlyinclude> |
}}</onlyinclude> |
||
| − | The '''Inferno |
+ | The '''Inferno Golem''' is a heavily armored and heavily modified steel [[golem]], that was designed by [[Paragon]] [[Hirol]]. This golem is at least four times the size of a normal steel golem and is covered in liquid hot magma. It can easily rip a person in half. |
| − | |||
== Involvement == |
== Involvement == |
||
| − | === ''Dragon Age: Origins - Awakening'' === |
||
{{SpoilerDAOA|style=short| |
{{SpoilerDAOA|style=short| |
||
| − | The Inferno |
+ | The Inferno Golem is controlled by [[The Lost|the Lost]], a [[darkspawn]] [[The Disciples|disciple]] loyal to [[the Mother]]. The Lost uses the Inferno Golem to defend against the Darkspawn attacking the thaig who are loyal to [[the Architect]]. As the Inferno Golem tears the Disciple leading the attack apart, [[the Warden-Commander]] arrives, and the Lost begins to tell them how he has plans to take over, and with this Inferno Golem at his side no one will stop him, especially the Commander. The Lost is killed and the Inferno Golem is destroyed by the Wardens. |
}} |
}} |
||
| − | == |
+ | == Quests == |
| + | :{{:Golem's Might|style=iconmini}} |
||
| ⚫ | |||
| − | == |
+ | == Locations == |
| + | :{{:Kal'Hirol - Lower Reaches|style=iconmini}} |
||
| ⚫ | |||
| + | |||
| + | == Abilities == |
||
| + | * '''Searing Glam''': the golem slams the target, inflicting critical damage plus fire damage over time. The target is also knocked back. |
||
| + | * '''Searing Quake''': the golem slams the ground three times, inflicting about half its normal attack damage as instant fire damage, plus fire damage over time, to nearby foes. Targets are also stunned. |
||
| ⚫ | * '''Ignite''': the golem tucks itself in, similar to [[Shale]]'s [[Regenerating Burst]], and charges up. At the end of the charge-up, the golem releases a burst of fire, inflicting about half its normal attack damage as instant fire damage, plus fire damage over time, to nearby foes. Targets are also knocked back. |
||
* Immunity to critical damage. |
* Immunity to critical damage. |
||
| + | * Golem trait: +10 armor, -10 defense |
||
| + | * Steel golem trait: +50% electricity resistance, +50% cold resistance |
||
| + | * Cold vulnerability: -75% cold resistance |
||
== Strategy == |
== Strategy == |
||
[[File:Inferno Golem's Rage 1.jpg|thumb|278px|Inferno golem rips a Disciple in two.]] |
[[File:Inferno Golem's Rage 1.jpg|thumb|278px|Inferno golem rips a Disciple in two.]] |
||
| − | This is likely the hardest boss encounter in ''Awakening'', with the exception of the Mother. The inferno golem |
+ | This is likely the hardest boss encounter in ''Awakening'', with the exception of the Mother. The inferno golem hits very hard, has several area of effect abilities, and is accompanied by the Lost, who is an adept spellcaster. Focus-fire the Lost first, since he has lesser defenses and his spells are a serious threat, and manage your characters to move out of flame patches as best you can. You can use either one or two tanks here, as with good gear and talents one warrior should be able to survive both bosses' onslaught without too much trouble. Also, utilize the waterfalls. They can put flames out and protect you from the golem's fire attacks. Try running from one waterfall to the next while the golem is attacking you. |
| + | |||
| ⚫ | |||
| + | |||
| ⚫ | If you have two mages who have the spell [[Force Field]], you can keep the Inferno Golem locked in place while you kill the Lost. The Inferno Golem will move one or two steps before the cooldown on the next mages Force Field has worn off. While fighting the Inferno Golem, if by any chance one of your mages gets targeted and pursued, run around with him in circles around the golem while the rest of the party nukes him. He is very slow and should be unable to catch you. |
||
| + | |||
| ⚫ | |||
| + | |||
| ⚫ | Anders is a good party member to have in this battle, as he can unleash [[Elemental Mastery (Awakening)|Elemental Mastery]], [[Storm of the Century]] and ice weapons; the Juggernaut Armor set the Hirol and having flame charms and the Ring of Ages equipped; if Oghren tanks, the battle is simple As the Inferno Golem will follow around Oghren but can't seriously damage him if his Constitution is over 30. Meanwhile, have Anders use ice spells like [[Winter's Grasp (Origins)|Winter's Grasp]], [[Cone of Cold (Origins)|Cone of Cold]] and [[Blizzard (Origins)|Blizzard]] if Oghren is using [[Indomitable (Origins)|Indomitable]]; in the meantime the Warden and Sigrun should be able to kill the Lost easily and after that it doesn't take too long for the Inferno Golem to fall. A good way to increase armor penetration is to use [[Telekinetic Weapons]] and/or a [[Spirit Warrior]] with [[Beyond the Veil]] and [[Soulbrand]] active. |
||
| + | |||
| + | Despite its size and theoretical weight, the Inferno Golem can still be knocked down. [[Stonefist (Origins)|Stonefist]] is very useful for this purpose, as Stonefist has short cooldown and does not allow a physical resistance check. |
||
| ⚫ | |||
| ⚫ | |||
| + | == Notable loot == |
||
| ⚫ | If you have two mages who have the spell [[Force Field]], you can keep the |
||
| ⚫ | |||
| + | == Variations == |
||
| ⚫ | |||
| + | :[[Steel golem]] |
||
| + | :[[Sentinel (golem)|Sentinel]] |
||
| + | :Enraged Sentinel |
||
| + | == Codex entries == |
||
| ⚫ | Anders is a good party member to have in this battle, as he can unleash [[Elemental Mastery (Awakening)|Elemental Mastery]], [[Storm of the Century]] and ice weapons; the Juggernaut Armor set the Hirol and having flame charms and the Ring of Ages equipped; if Oghren tanks, the battle is simple As the Inferno Golem will follow around Oghren but can't seriously damage him if his Constitution is over 30. Meanwhile, have Anders use ice spells like [[Winter's Grasp (Origins)|Winter's Grasp]], [[Cone of Cold (Origins)|Cone of Cold]] and [[Blizzard (Origins)|Blizzard]] if Oghren is using [[Indomitable (Origins)|Indomitable]]; in the meantime the Warden and Sigrun should be able to kill the Lost easily and after that it doesn't take too long for the Inferno Golem to fall |
||
| ⚫ | |||
| ⚫ | |||
| ⚫ | |||
| + | * The golem has a special trait called "fire healing", suggesting it might have been intended that the golem would heal from fire damage. This is not implemented, however. As it is, the golem has no resistance to fire. |
||
== Gallery == |
== Gallery == |
||
| − | <gallery widths= |
+ | <gallery widths="180" spacing="small" position="center" captionalign="center" orientation="portrait"> |
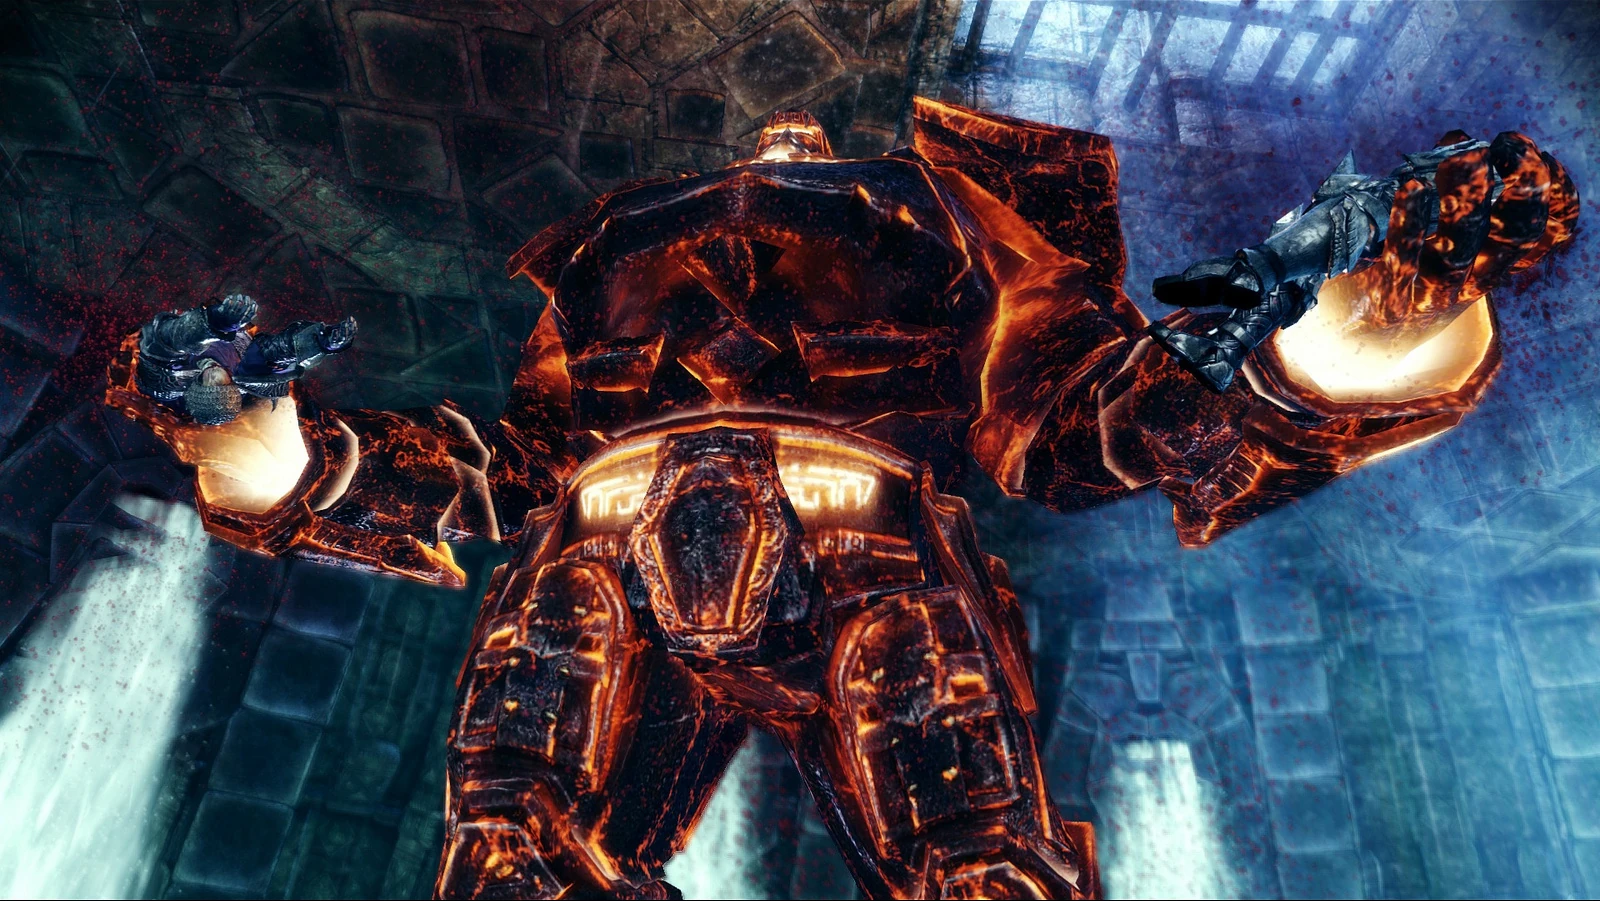
Inferno Golem's Rage 2.jpg|An Inferno golem with a darkspawn in its clutches. |
Inferno Golem's Rage 2.jpg|An Inferno golem with a darkspawn in its clutches. |
||
Inferno Golem's Back.jpg|A back shot of an Inferno golem |
Inferno Golem's Back.jpg|A back shot of an Inferno golem |
||
| Line 48: | Line 74: | ||
</gallery> |
</gallery> |
||
| + | <!--Categories--> |
||
| ⚫ | |||
| ⚫ | |||
[[Category:Creatures]] |
[[Category:Creatures]] |
||
[[Category:Dragon Age: Origins - Awakening creatures]] |
[[Category:Dragon Age: Origins - Awakening creatures]] |
||
| Line 55: | Line 80: | ||
[[Category:Golems]] |
[[Category:Golems]] |
||
[[Category:Slaves]] |
[[Category:Slaves]] |
||
| + | <!--Interwiki links--> |
||
Latest revision as of 18:57, 5 December 2021
The Inferno Golem is a heavily armored and heavily modified steel golem, that was designed by Paragon Hirol. This golem is at least four times the size of a normal steel golem and is covered in liquid hot magma. It can easily rip a person in half.
Involvement[]
Quests[]
Locations[]
Abilities[]
- Searing Glam: the golem slams the target, inflicting critical damage plus fire damage over time. The target is also knocked back.
- Searing Quake: the golem slams the ground three times, inflicting about half its normal attack damage as instant fire damage, plus fire damage over time, to nearby foes. Targets are also stunned.
- Ignite: the golem tucks itself in, similar to Shale's Regenerating Burst, and charges up. At the end of the charge-up, the golem releases a burst of fire, inflicting about half its normal attack damage as instant fire damage, plus fire damage over time, to nearby foes. Targets are also knocked back.
- Immunity to critical damage.
- Golem trait: +10 armor, -10 defense
- Steel golem trait: +50% electricity resistance, +50% cold resistance
- Cold vulnerability: -75% cold resistance
Strategy[]

Inferno golem rips a Disciple in two.
This is likely the hardest boss encounter in Awakening, with the exception of the Mother. The inferno golem hits very hard, has several area of effect abilities, and is accompanied by the Lost, who is an adept spellcaster. Focus-fire the Lost first, since he has lesser defenses and his spells are a serious threat, and manage your characters to move out of flame patches as best you can. You can use either one or two tanks here, as with good gear and talents one warrior should be able to survive both bosses' onslaught without too much trouble. Also, utilize the waterfalls. They can put flames out and protect you from the golem's fire attacks. Try running from one waterfall to the next while the golem is attacking you.
After the Lost dies, nuke the Inferno Golem. Utilize cold damage and armor-reducing effects in particular, and note that the golem is immune to critical hits and backstabs.
If you have two mages who have the spell Force Field, you can keep the Inferno Golem locked in place while you kill the Lost. The Inferno Golem will move one or two steps before the cooldown on the next mages Force Field has worn off. While fighting the Inferno Golem, if by any chance one of your mages gets targeted and pursued, run around with him in circles around the golem while the rest of the party nukes him. He is very slow and should be unable to catch you.
As with any fire-related enemy (e.g. Rage demon) the Inferno Golem is vulnerable to frost damage and uses fire damage to the exclusion of all else. Its damage can be nullified using a Greater Warmth Balm and any and all frost spells or runes should be used.
Anders is a good party member to have in this battle, as he can unleash Elemental Mastery, Storm of the Century and ice weapons; the Juggernaut Armor set the Hirol and having flame charms and the Ring of Ages equipped; if Oghren tanks, the battle is simple As the Inferno Golem will follow around Oghren but can't seriously damage him if his Constitution is over 30. Meanwhile, have Anders use ice spells like Winter's Grasp, Cone of Cold and Blizzard if Oghren is using Indomitable; in the meantime the Warden and Sigrun should be able to kill the Lost easily and after that it doesn't take too long for the Inferno Golem to fall. A good way to increase armor penetration is to use Telekinetic Weapons and/or a Spirit Warrior with Beyond the Veil and Soulbrand active.
Despite its size and theoretical weight, the Inferno Golem can still be knocked down. Stonefist is very useful for this purpose, as Stonefist has short cooldown and does not allow a physical resistance check.
Of course, should the player have companion/strategy preferences other than those prescribed above, an imported Warden wearing the Warden-Commander set makes the entire encounter a cakewalk.
Notable loot[]
 Inferno Golem Shell - which is used for making the Golem Shell Armor for the quest Golem's Might.
Variations[]
- Steel golem
- Sentinel
- Enraged Sentinel
Codex entries[]
Trivia[]
- The golem has a special trait called "fire healing", suggesting it might have been intended that the golem would heal from fire damage. This is not implemented, however. As it is, the golem has no resistance to fire.
Gallery[]
")
")
.png "Inferno golem (Heroes of Dragon Age).png (206 KB)")