In Your Heart Shall Burn is a main quest in Dragon Age: Inquisition, featuring the Inquisitor closing the Breach with the help of their new allies. Although seemingly a successful operation, the events later take an unexpected turn as Haven is attacked by unknown enemy forces.
Join forces with your new allies to assault the heart of the Breach and close it once and for all.
Acquisition
The quest is automatically triggered after the conclusion of either Champions of the Just or In Hushed Whispers. The plot starts as a War Table mission, recommended for levels 8 to 11.
Walkthrough
WARNING: Before beginning, be sure to read all codex entries and loot anything of import in Haven. Some operations also become unavailable if not completed before completing this quest. See War table for more information.
Closing the Breach
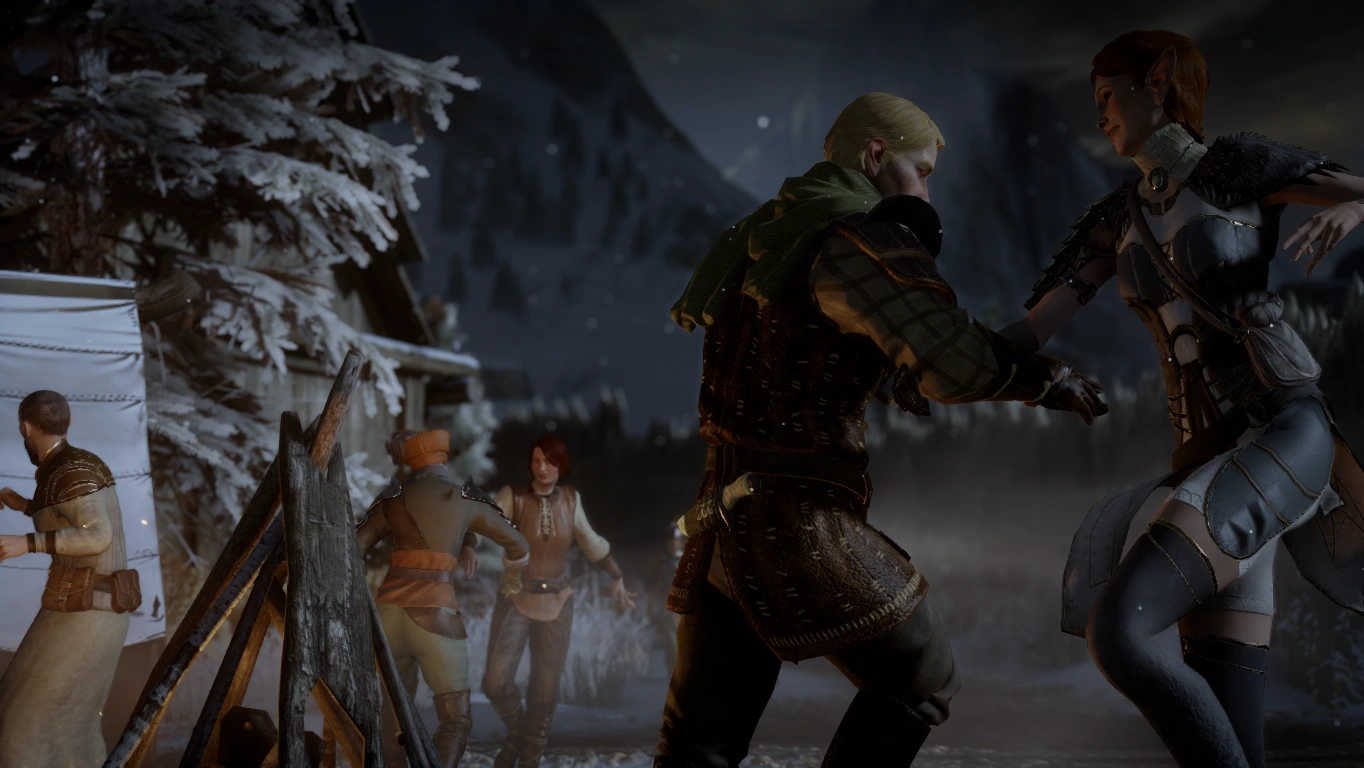
People celebrating closing the Breach
A scene of the Herald, along with the chosen allied group, closing the Breach will play. The scene will then shift to Haven, as everyone celebrates the Inquisition's success. The festivities are soon interrupted as an unknown force can be seen marching towards them in the distance.
Head to the gates
Before heading to the gate, take a moment to note the location of some of Haven's townspeople. Threnn is right behind the party by the requisition table, along with a supply cache. Seggrit is just ahead at the top of the stairs. Heading to the left, Flissa will be at her usual spot in the tavern. And heading past the tavern, Adan and Minaeve can be found in the general area where Solas is usually at. Head towards the main gate, and after descending the stairs, turn left and note Lysette's position. All of these townspeople will need to be saved later.
When ready, head to the main gate and a scene plays. Either Dorian or Cole will ask for the gate to be opened:
- Dorian explains that the mages are now part of the Venatori and led by a woman named Calpernia.
- Cole explains that the templars have been corrupted.
Either way, the Herald will see the Elder One for the first time. A plan to use the trebuchets to attack the invading force is then formed.
If the mages were recruited, the enemies will consist of red templars, led by Samson. If the templars were recruited, the enemies will consist of the Venatori, with Calpernia leading them.
Defend the north trebuchet
There is a gauge in the upper right corner. The party will need to defend the trebuchet crew by defeating a total of three enemy waves. The gauge will increase by one-third after each wave is eliminated. After the final wave, the trebuchet is fired and the party is told that the southern trebuchet isn't firing and they will need to investigate.
Retake the south trebuchet
There is a supply cache near the smithy. There will be a group of enemies surrounding the trebuchet. Another group will approach from the southwest as soon as the first group is defeated. There is another supply cache to the right of the trebuchet.
Man the trebuchet
The wheel on the trebuchet must then be turned until the gauge is full. A scene plays of the shot connecting with the mountainside, causing an avalanche that envelops much of the enemy force. Soon after, a high dragon flies overhead and destroys the trebuchet.
Return to the gates
Help Harritt
On the way back to the gates, the blacksmith, Harritt, will ask for help getting into the nearby building. This begins the sub-quest, Evacuating Haven. Destroy the boxes that are blocking the door. It is advised to save manually before proceeding to the main gate to meet up with Cullen.
Regroup at the Chantry
Note that rescuing Haven's townspeople is entirely optional, but the rewards are substantial. Each townsperson rescued is worth 128 XP and 80 Influence. After being rescued, each townsperson will head to the Chantry.
Rescue Lysette
Immediately move up the stairs and to the right to rescue Lysette. She will be fighting a couple enemies initially, but more will climb over the nearby wall.
Rescue Segritt
Stick to the left side of the stairs and turn left and approach the burning building to hear Segritt call out for help. Even sticking to the left side, it's possible the nearby enemies will engage. Consider ordering the party to hold position at the bottom of the stairs. There is a barrel at the right corner of the building that can be used to get on top of the adjacent stack of wood. Jump to the top of the stack and into the building, and then rescue Segritt. Destroy the boxes blocking the exit and loot the large chest before exiting.
Rescue Flissa
Move straight ahead to encounter the next group of enemies, if they weren't already killed. If the party gets too close to the tavern, then Flissa's rescue will trigger, and there's not a lot of time to get to her before the roof collapses. Command the party to hold position and let the enemies come to them. Another group will jump over the wall as the party gets close to the tavern entrance. Take command of a rogue and use stealth to enter the tavern and perform the rescue. Do not let the fighting move past the tavern, or Adan and Minaeve's rescue will trigger too soon. Move the party and engage enemies inside the tavern if necessary.
Rescue Adan and Minaeve
There is not a lot of time to do this. After the previous battle is over, run up the stairs and do not stop. The dragon will launch a fireball and light the nearby buildings on fire. Adan will yell that fire is approaching the pots. If it reaches the pots, they will explode and one or both will die. There really is just barely enough time to rescue both of them. Consider ordering the party to hold position on the stairs to make sure they don't get in the way. There is a supply cache in front of, and a large loot chest inside the apothecary.
Rescue Threnn
Move to the front of the Chantry. Kill the enemies and make sure she survives.
If all seven townspeople were helped/rescued (only those brought on the quest):
- Varric Greatly Approves
- Vivienne Approves
Enter the chantry and a scene will play in which a wounded Chancellor Roderick ushers in the party and other survivors. After a bit of discussion, it is learned that the Herald is likely the target of the Elder One, and not the entire Inquisition.
Dorian: From what I gathered in Redcliffe, it marched all of this way to take your Herald.
Cole: The Elder One doesn't care about the village. He only wants the Herald.
- I'd give myself to save Haven. - Varric Approves; Blackwall Slightly Approves; Sera Slightly Disapproves; Solas Disapproves
- Why? Why does he want me? - Solas Slightly Approves
- How do I stop him? - Vivienne/Iron Bull Slightly Approves
Roderick will suggest that a secret path out of the chantry could be used by the Inquisition to escape. Meanwhile, the Herald intends to bury Haven using another trebuchet shot at the mountainside.
Roderick: She must have shown me. Andraste must have shown me so I could... tell you.
- Q What do you mean?
- Cullen, can you get them out?
- Rocks won't stop a dragon. - Varric/Sera Slightly Approves
- Go. I'll distract them.
Reach the trebuchet
Several enemies will approach the party. Once they're dealt with, move towards the spot where Varric hung out and eliminate another group. As the party approaches the trebuchet, a couple groups of enemies will appear. There is a supply cache near the trebuchet.
Aim the trebuchet

Elder One and his dragon
As soon as a party member begins turning the wheel, the radar will show enemies approaching but they don't arrive all at once. The wheel can only be turned so much, and then a larger group of enemies will spawn who need to be eliminated before the trebuchet can be rotated further. This pattern will repeat two more times. In the third enemy group either Knight-Captain Denam or Fiona will appear. They are both Elite rank. Once the third group has been dispatched, the trebuchet can be fully aimed without further interruption.
Tips for harder difficulties: On harder difficulties by the time the second or third group of enemies spawn it is entirely likely that your party will be out of healing potions and in bad health, making this one of the hardest battles up to this point. Here are some tips to make it past this battle. - Be sure to have an archer with stealth in the party. One good composition would be one mage with barrier, one stealthy archer, and two fighters who can employ guard; but always have at least the archer with stealth. - The entire area, from the Chantry doors to the trebuchet, is available for use. Use your archer and keep them on the edge of the fight. When the larger groups of enemies spawn, use your archer to run out of the immediate battle area, far enough that you disengage. The party, including any fallen party members, will respawn next to your archer. - After respawning, try to engage only one or two enemies at a time. Their health will not reset, so you can gradually wear them down. In the last fight, focus on the lesser enemies first and save Knight-Captain Denam or Fiona for last. - Keep the archer alive and in good health at all costs. Set the healing potion reserve to at least two, three may be better, and only use those last few healing potions for your archer. Save stealth for when it is needed to run away from enemies to get far enough away to get the rest of the party to respawn. These tactics will not work for all difficult fights (such as fade rifts or Dragons) where leaving the battlefield resets the enemies but may be used when fighting giants at Suledin Keep or other situations where the battlefield is large, so keep them in mind.
Once the trebuchet is fully aimed a scene plays in which the Herald will speak to the Elder One and learn his true identity as Corypheus. The Herald fires the trebuchet, and an avalanche consumes Haven. The Herald falls underground as the scene ends.
Find a way forward
Continue moving forward and eventually a group of demons spawns. A tutorial will begin on focus abilities and the Mark of the Rift ability will be unlocked and automatically assigned to a quick slot. The cavern exit will soon be reached after the battle. Move ahead slowly, possibly examining a couple of abandoned campfire pits, until lights can be seen on the horizon.
Several scenes will play out. In the first, the advisors are arguing while the Herald speaks to Mother Giselle. There is one line that will have minor implications:
Mother Giselle: That is hard to accept, no? What "we" have been called to endure? What "we," perhaps, must come to believe?
- Fanatical belief is to blame. - Establishes non-belief
- Q Investigate.
- I didn't die and come back.
- Should we believe Corypheus?
- I still don't believe. - Establishes non-belief (or "I've lost faith," if previously embraced the idea of being chosen.)
- We need more than faith. - Establishes non-belief
- This is a waste of time. - Establishes non-belief
- I believe, but is that enough? - Establishes belief (or "want-to," if previously dismissed the idea of being chosen. Leads to belief dialogue)
Afterwards, Solas will ask the Herald for a word in private. He will explain that the orb Corypheus wields is of elven origin. This conversation plays out differently if the Herald is Dalish:
Solas: I do not yet know how Corypheus survived... Nor am I certain how people will react when they learn of the orb's origin./We must find out how he survived... and we must prepare for their reaction, when they learn that the orb is of our people.
- Q How do you know this? (repeat w/o option) - Solas Slightly Approves
- You're right to be worried./I won't worry. They trust me. - Solas Slightly Approves/No approval
- Lost here, it won't matter.
- So prove yourself./They'll blame us eventually. - No approval/Solas Slightly Approves
Solas will inform the Herald of a place that the Inquisition can rebuild: Skyhold.
The Ceremony
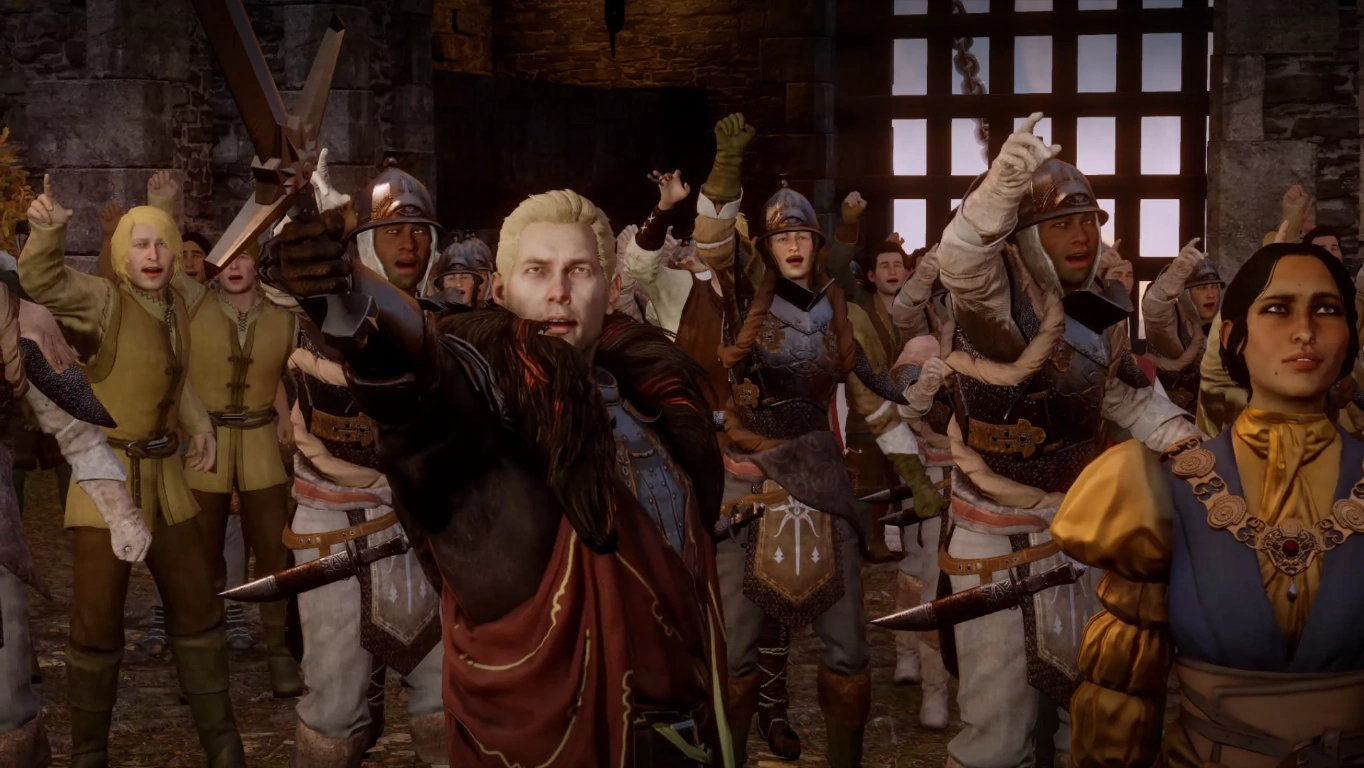
Cullen and others enjoying selection of the new Inquisitor
A scene plays in which the Herald is named the Inquisitor. The dialogue choices here can be affected by whether the Herald is a believer or non-believer, as well as the choice made during the earlier conversation with Mother Giselle.
Cassandra: You.
- (Surprised) But I'm not your chosen one! - Vivienne Slightly Disapproves
- (Pleased) I'm honored./My faith is rewarded. - Cassandra Slightly Approves
- (Confused) Everyone agreed to this?/But I'm not even human. (non-human only)/You trust this to a mage? (mage only)
- (Mad) I don't want this! - Blackwall Disapproves
Cassandra: There would be no Inquisition without you. How it will serve, how you lead: that must be yours to decide.
- A dwarf will stand for us all. (dwarven only) - Sera Approves
- An elf will stand for us all. (elven only) - Solas Slightly Approves; Sera Disapproves; Dorian Approves
- I'll set an example as a mage. (mage only) - Dorian Approves; Solas Slightly Approves; Vivienne Greatly Approves
- I fight for order, not faith. (non-believer only) - Varric Slightly Approves; Cassandra/Sera Approves
- I'll be a servant of faith. (believer only) - Cassandra Greatly Approves; Vivienne Approves; Solas/Sera Disapproves
- I'll do it because it's right. (non-believer only) - Sera Greatly Approves; Blackwall Approves; Varric/Solas/Iron Bull Slightly Approves
- I will lead them to vengeance. - Sera Approves; Cassandra/Solas/Iron Bull Slightly Disapproves; Varric Disapproves
- Corypheus must be stopped. - Dorian Greatly Approves; Sera Approves; Iron Bull/Blackwall Slightly Approves
- I'll do it for my own power. - Cassandra/Varric/Solas/Sera/Blackwall Greatly Disapproves
The quest ends as the Inquisition plans its next move.
Rewards

Skyhold scene concept
- ~3000 XP, 2000 Influence
- Enhanced Amulet of Magic (Fiona)
- Enhanced Belt of Magic Defense (Denam)
- 128 XP, 80 Influence for every person rescued in Haven
Results
- Haven is destroyed.
- The Inquisition relocates to Skyhold.
- Elder One revealed.
- Several new operations become available
Trivia
- Most of the quest names in the main plot of Inquisition refer to specific verses of the Chant of Light. "In your heart shall burn" is from the Canticle of Threnodies 5:7.
- Beginning In Your Heart Shall Burn and then loading the milestone save from just before entering the War Room can cause companions to refer to you as "Inquisitor," and unlocks dialogues about your new title before you are actually named as the Inquisitor.